Tai Shimizu

iOS & Mac Developer

Creator of the iOS photography apps Gridditor & Filterstorm, the Mac drawing app Inkist, the Mac HDR app Light Compressor, and the experimental web browser Torii.

Follow on Twitter

Follow on ADN

Subscribe via RSS

Contact via email

Announcing Filterstorm 2

I can’t believe it’s been 2 months since I’ve posted here on my blog. Filterstorm has really been eating up that much of my time. If you’ve been following Filterstorm on Twitter, you know I’ve been talking a lot about Filterstorm 1.5 and all the work I’ve been doing on it. Well, today I’m renaming it Filterstorm 2, since it’s such a massive overhaul of the original version.

I’ll go through a quick sequence of screenshots of my process for a photo I took yesterday of a snow leopard trying to stay cool.

http:  taishimizu.com pictures filterstorm 2 preview snow leopard snow leopard before filterstorm thumb.jpg

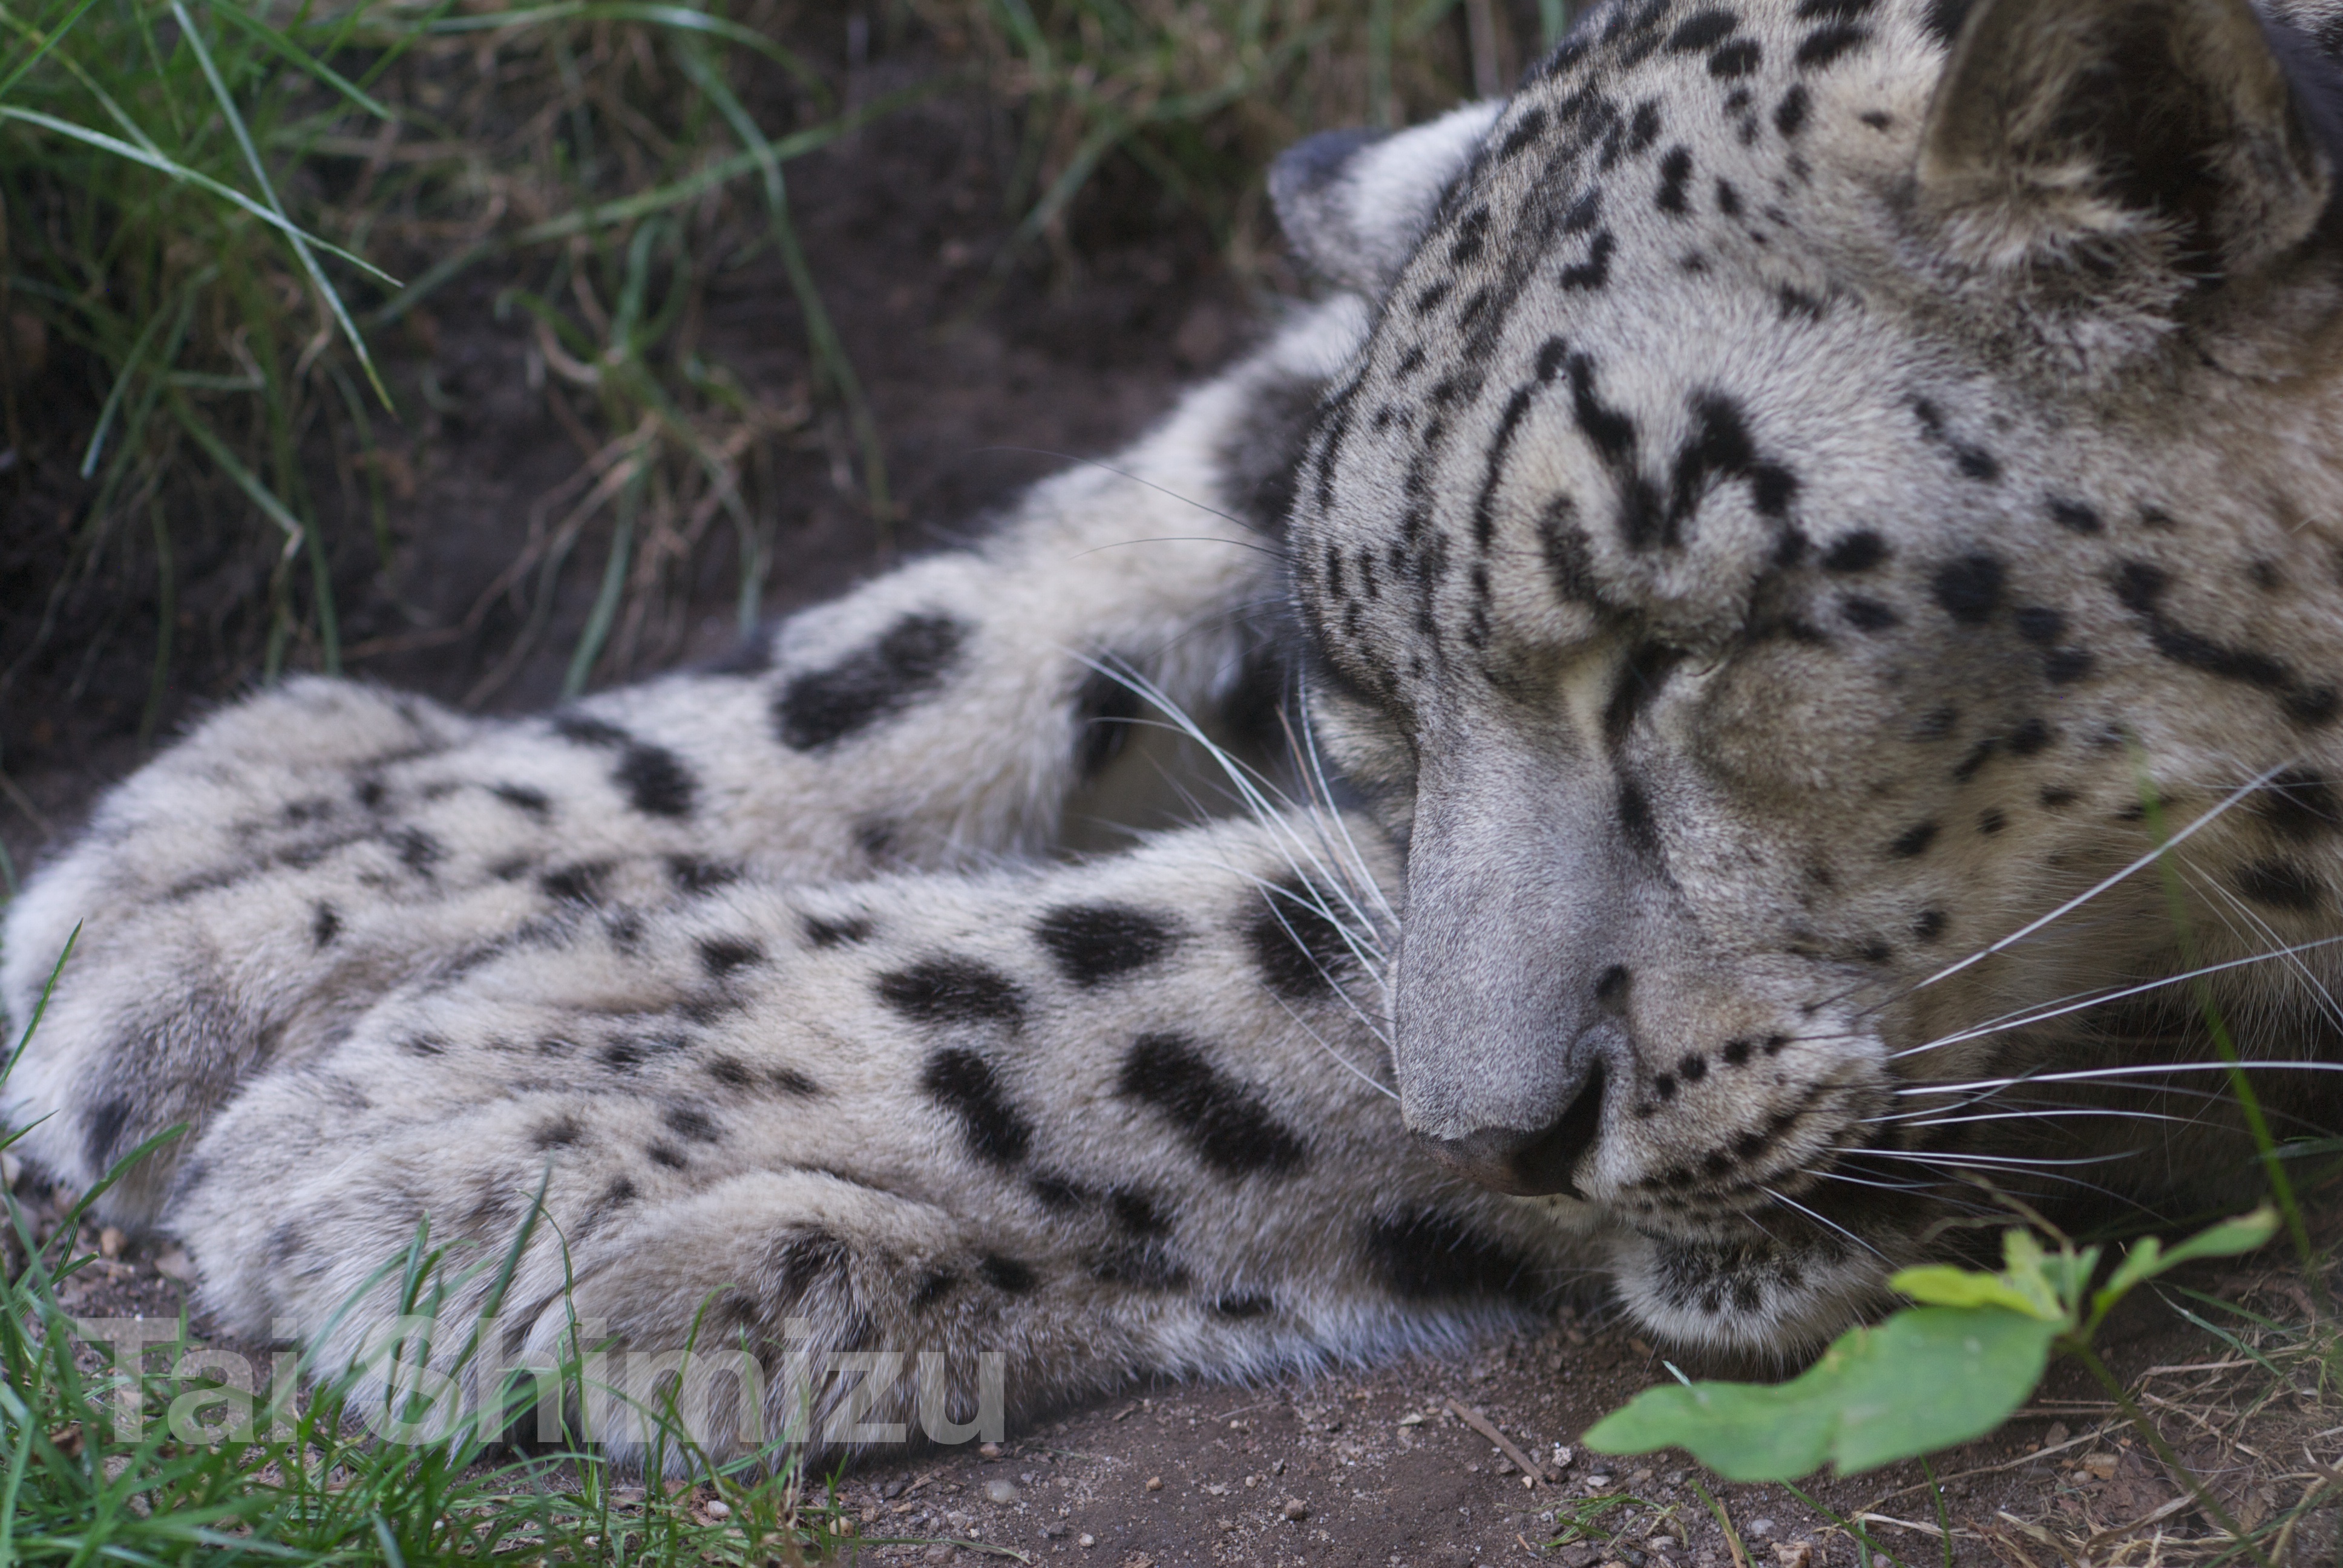
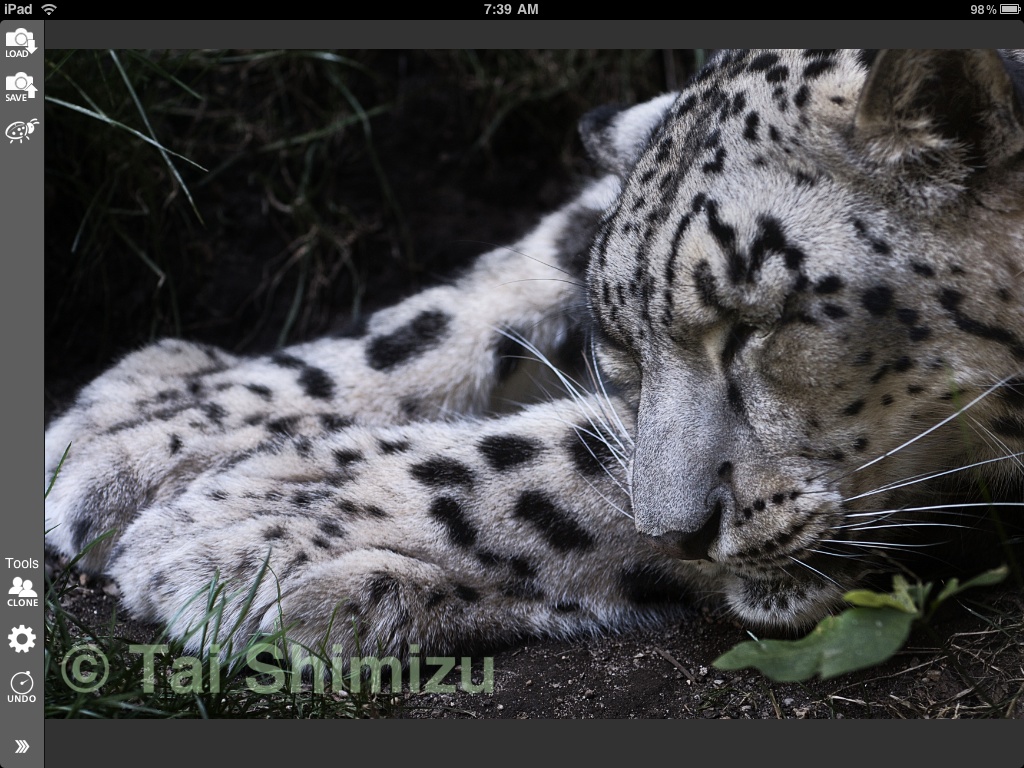
Above is the original photo, taken with my Nikon 85mm f/2.8 PC tilt/shift lens. It’s very low contrast largely due to the glass the photo was taken through.

http:  taishimizu.com pictures filterstorm 2 preview snow leopard filterstorm preview snow leopard 1 thumb.jpg

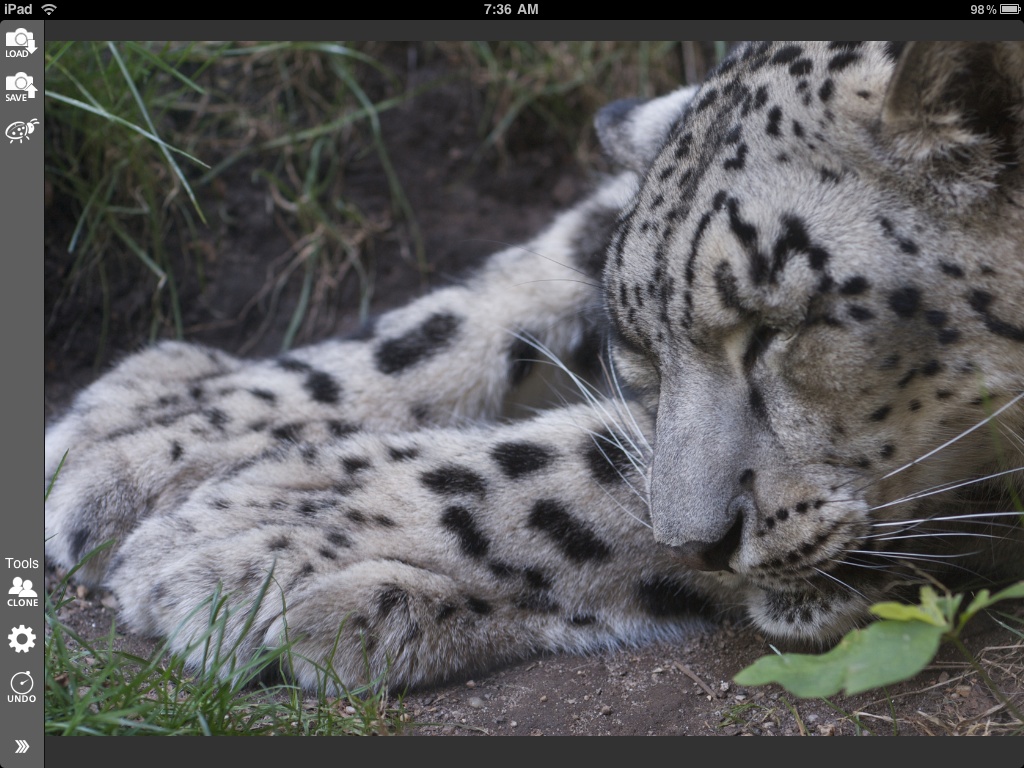
Here’s the photo loaded into Filterstorm 2. The first thing you’ll notice if you’ve used Filterstorm before, is that the top bar is gone, and now there’s a bar on the side. Rather than buttons that reveal popovers which cover the image, this bar pulls out a drawer which covers the image.

In the old versions of Filterstorm, when you were making, for example, a curves adjustment, the popover would almost certainly be covering part of the image. If you wanted to see that part of the image, you’d have to exit the popover, and reposition the image. The new drawer can be opened or closed at any time, hiding the controls whenever you want to see more of the image.

http:  taishimizu.com pictures filterstorm 2 preview snow leopard filterstorm preview snow leopard 2 thumb.jpg

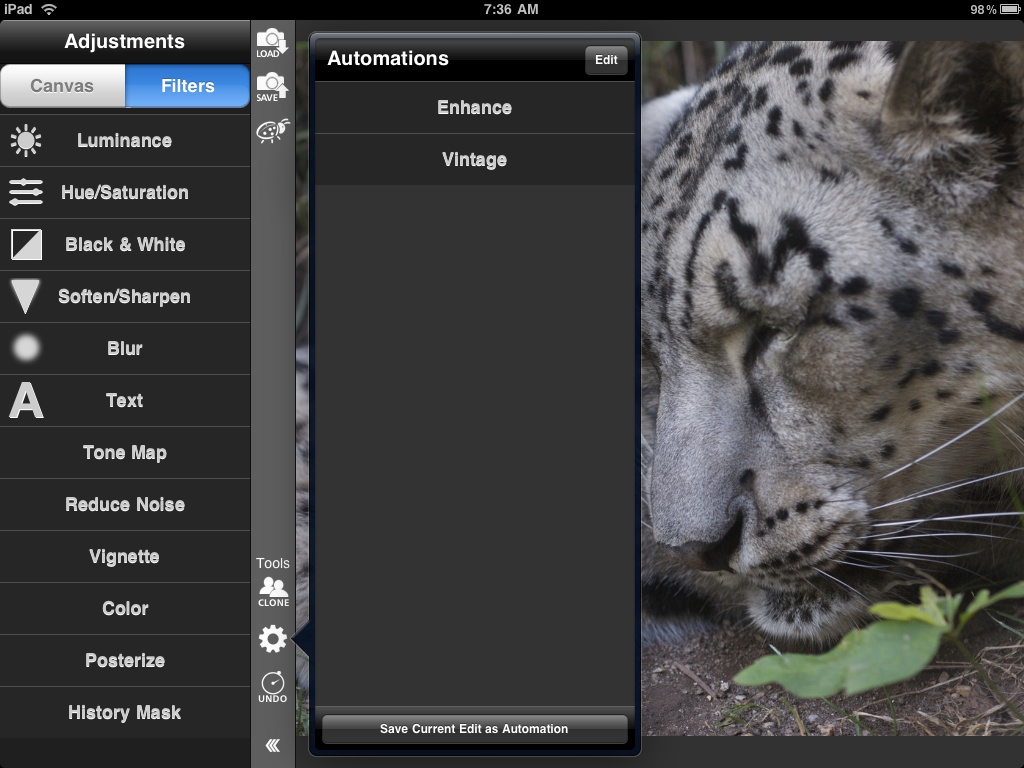
Here I’ve pulled out the drawer, and opened up the Automations menu (the gear icon). Automations are saved sequences of edits that you can re-apply to any image. What’s showing here is “Enhance” and “Vintage”, what are for now the only built-in automations.

If you’ve edited an image in a way you will want to do to a number of other images, open up the automations menu, and hit the save button on the bottom. It will let you name a new automation based on what you’ve done to the image you’re working on.

http:  taishimizu.com pictures filterstorm 2 preview snow leopard filterstorm preview snow leopard 3 thumb.jpg

Here I’m applying the “Enhance” automation, which applies some tone mapping and curves adjustment.

http:  taishimizu.com pictures filterstorm 2 preview snow leopard filterstorm preview snow leopard 5 thumb.jpg

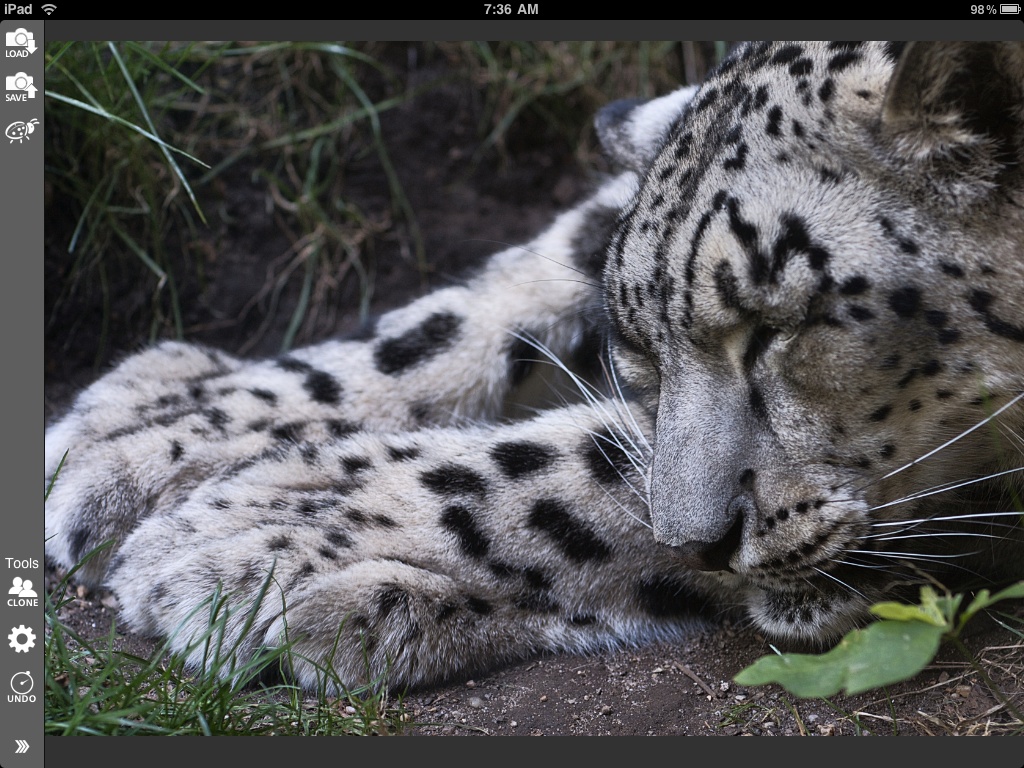
This is the result of my built-in enhance button. The contrast level is much better than in the original.

http:  taishimizu.com pictures filterstorm 2 preview snow leopard filterstorm preview snow leopard 6 thumb.jpg

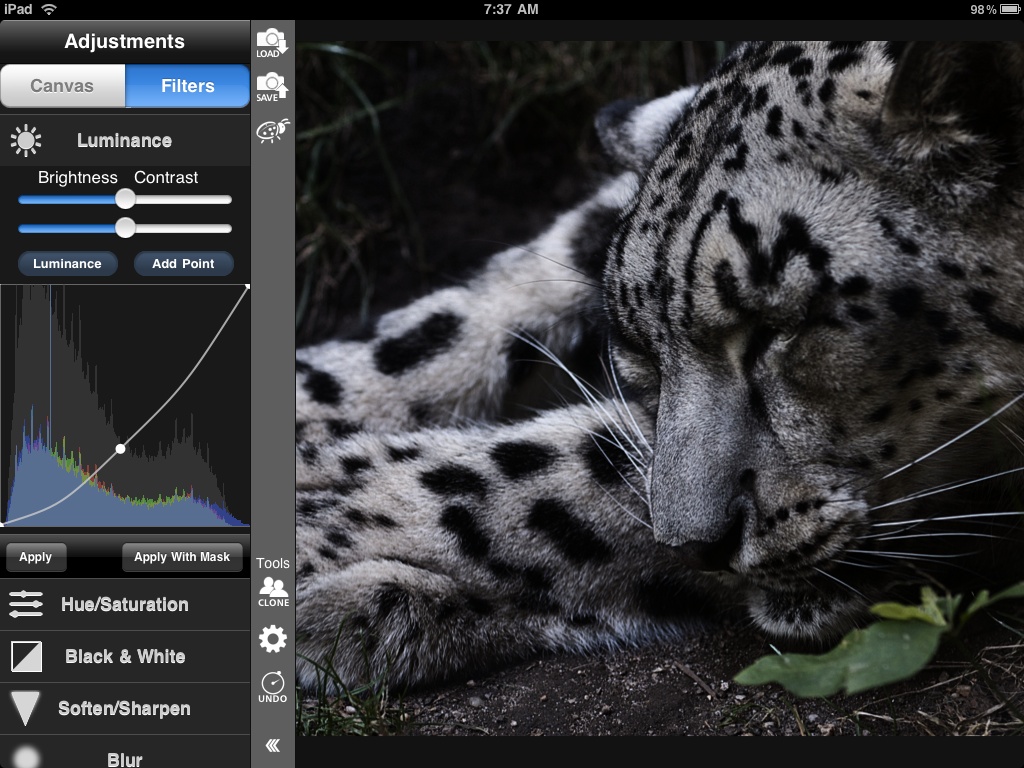
Here I’ve pulled out the drawer again, and tapped on the luminance button, to open up the luminance controls. I’m planning on darkening the background to make the snow leopard pop more, so I’ve pulled the curves down.

In Filterstorm 1, I would first choose brush mode, (or color range mode, or gradient mode), then set my adjustment to the way I wanted it, but things have changed in Filterstorm 2. Now the filter is always the first step. So when I adjust my curves, I have 2 buttons on the bottom to use to apply it. The “Apply” button applies the filter to the whole image, wheras the “Apply with Mask” button lets me use the brush, gradient, and color range modes.

http:  taishimizu.com pictures filterstorm 2 preview snow leopard filterstorm preview snow leopard 7 thumb.jpg

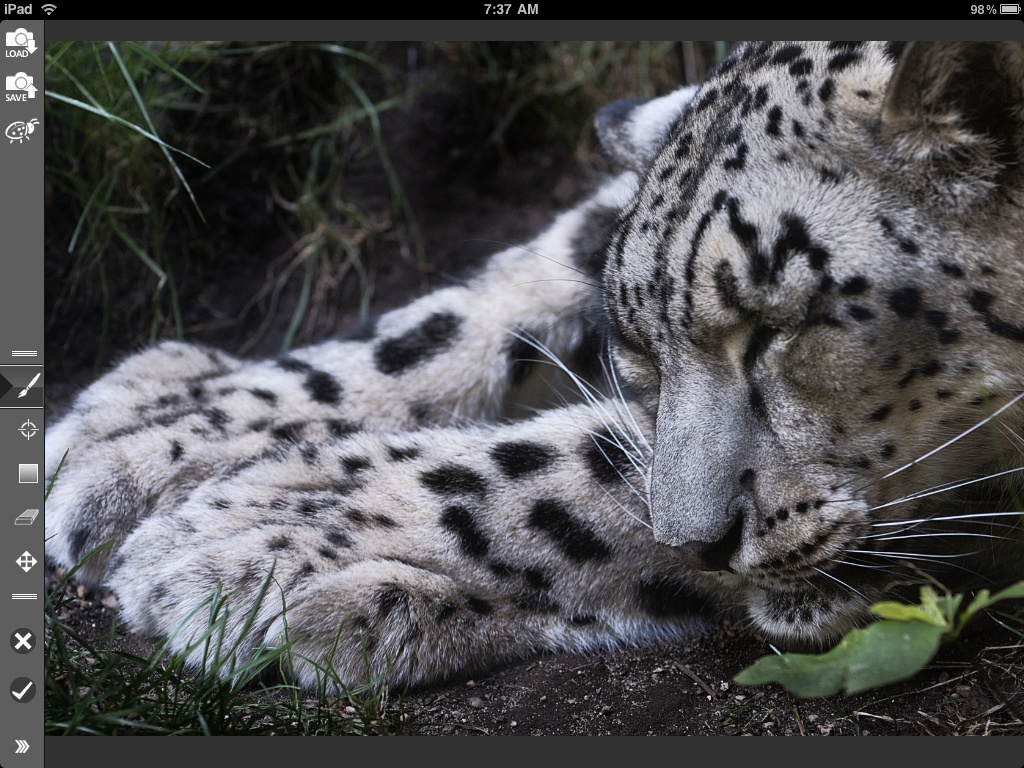
Here I’ve hit “Apply with Mask”. You can see the toolbar has changed. This is what it looks like in what I call “masking mode” which contains all our old controls. The beauty here, is now I can switch between the modes and apply the same adjustment in multiple ways. I can apply it via gradient, and then take my brush and add the filter to different areas of the picture, too. I could also take my eraser, and remove part of how the effect was applied by gradient. This makes all the tool modes, especially color range mode, much more flexible and powerful.

http:  taishimizu.com pictures filterstorm 2 preview snow leopard filterstorm preview snow leopard 8 thumb.jpg

Here I’ve closed the drawer (still in masking mode, you can see the indicator shows I’m brushing), and have brushed on my curve change to the background. Now the ground beneath the snow leopard is more natural, and the area above his paws is less distracting.

http:  taishimizu.com pictures filterstorm 2 preview snow leopard filterstorm preview snow leopard 9 thumb.jpg

The check and x buttons at the bottom of the toolbar take me out of mask mode. The check button will approve my masking changes, and the x button will cancel them.

http:  taishimizu.com pictures filterstorm 2 preview snow leopard filterstorm preview snow leopard 10 thumb.jpg

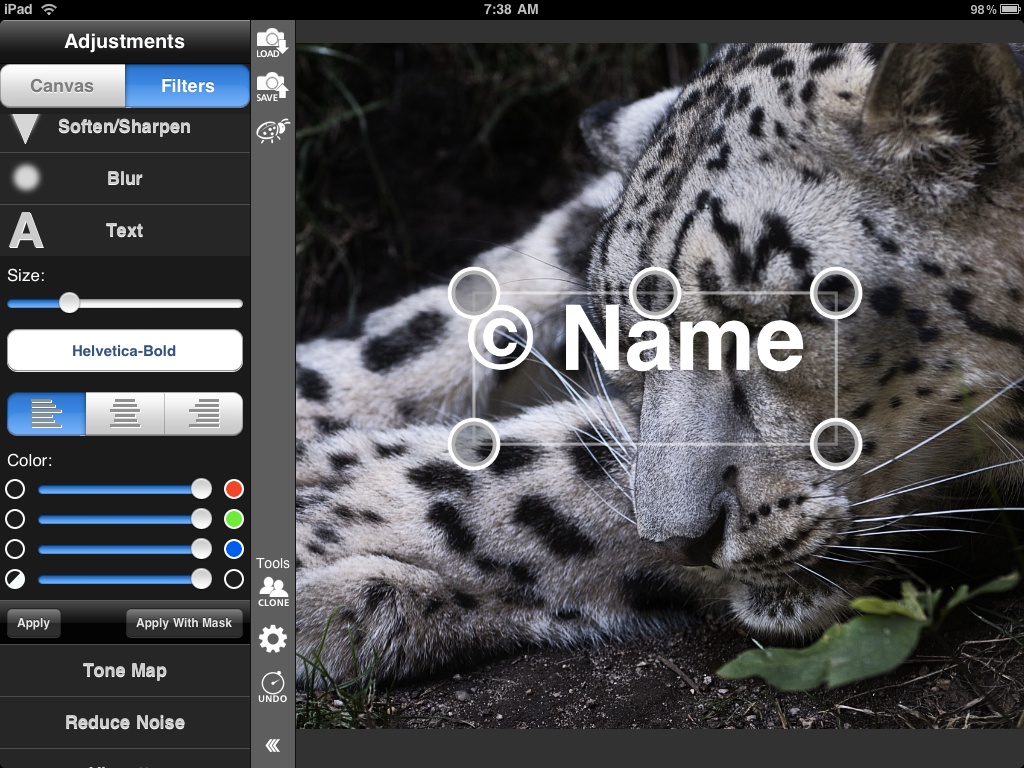
Another new ability in Filterstorm 2 is one a lot of people have asked for: text. I’ve opened up the text controls here, and you can see the default text has popped up. Like the default suggests, I’m going to use this for a watermark.

http:  taishimizu.com pictures filterstorm 2 preview snow leopard filterstorm preview snow leopard 11 thumb.jpg

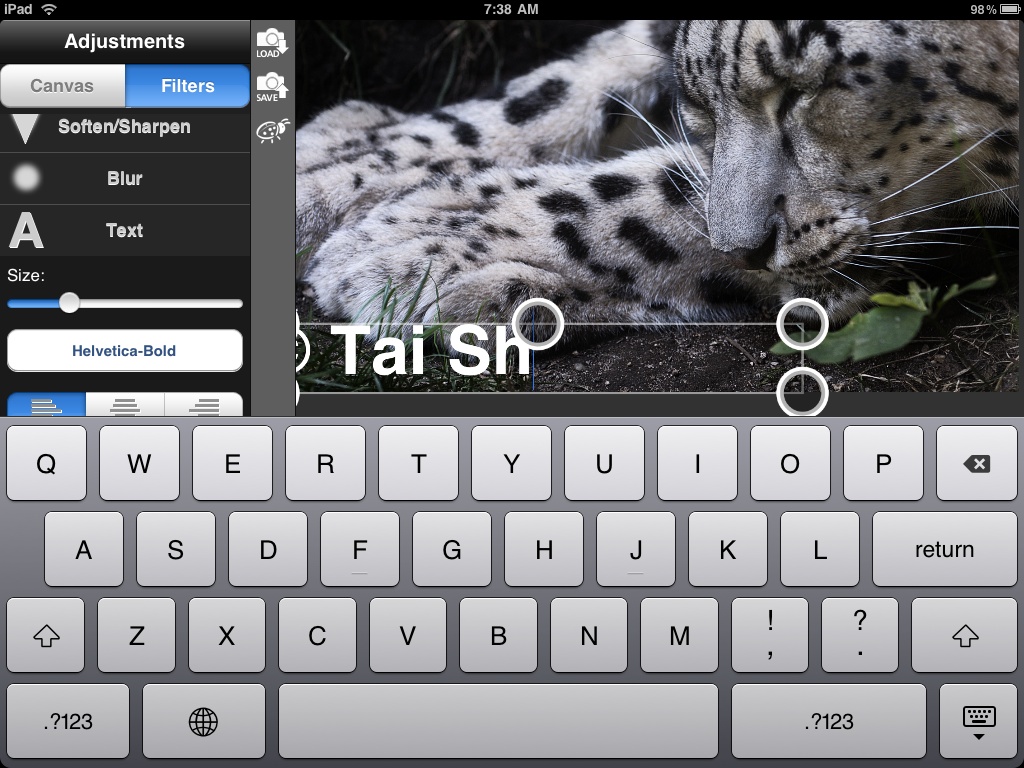
Here I’ve placed the text and am typing in my name.

http:  taishimizu.com pictures filterstorm 2 preview snow leopard filterstorm preview snow leopard 12 thumb.jpg

The text tool has the ability to change the size, typeface, color, alignment, and opacity of the text. You can also use text in masking mode. This allows you to apply effects such as having the text fade in with a gradient. I’ve chosen a translucent green for this image. Text works with the automation tool, so if you tend to put watermarks on your image, you position the text the way you like it, and save an automation so you can do it quickly every time.

http:  taishimizu.com pictures filterstorm 2 preview snow leopard filterstorm preview snow leopard 13 thumb.jpg

http:  taishimizu.com pictures filterstorm 2 preview snow leopard filterstorm preview snow leopard 14 thumb.jpg

This “Save Large Image” button is a placeholder button for a very big feature of Filterstorm 2. Filterstorm 2 increases the maximum dimension of an image to 3048px, which makes the final version of this image 6.2 megapixels, good enough for web and print up to a pretty decent size.

http:  taishimizu.com pictures filterstorm 2 preview snow leopard filterstorm preview snow leopard 15 thumb.jpg

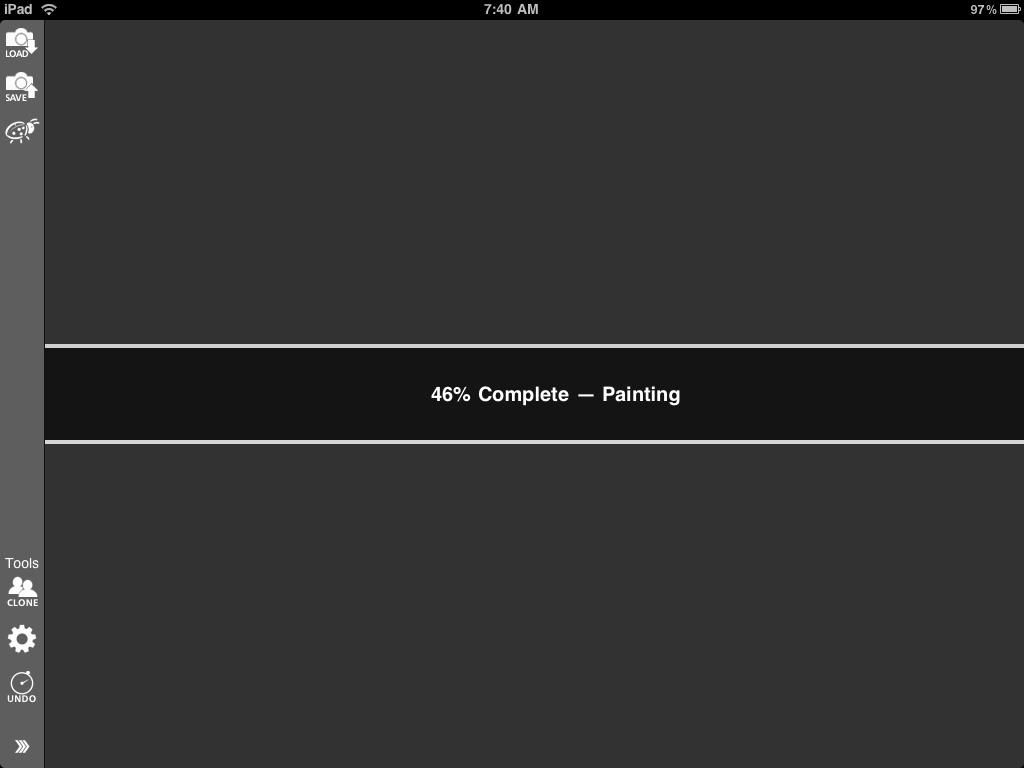
iPad is very limited on RAM, so the export process takes almost everything out of RAM, including the image that was being displayed and shows you a progress indicator. This image took about 40 seconds to export.

http:  taishimizu.com pictures filterstorm 2 preview snow leopard filterstorm preview snow leopard final thumb.jpg

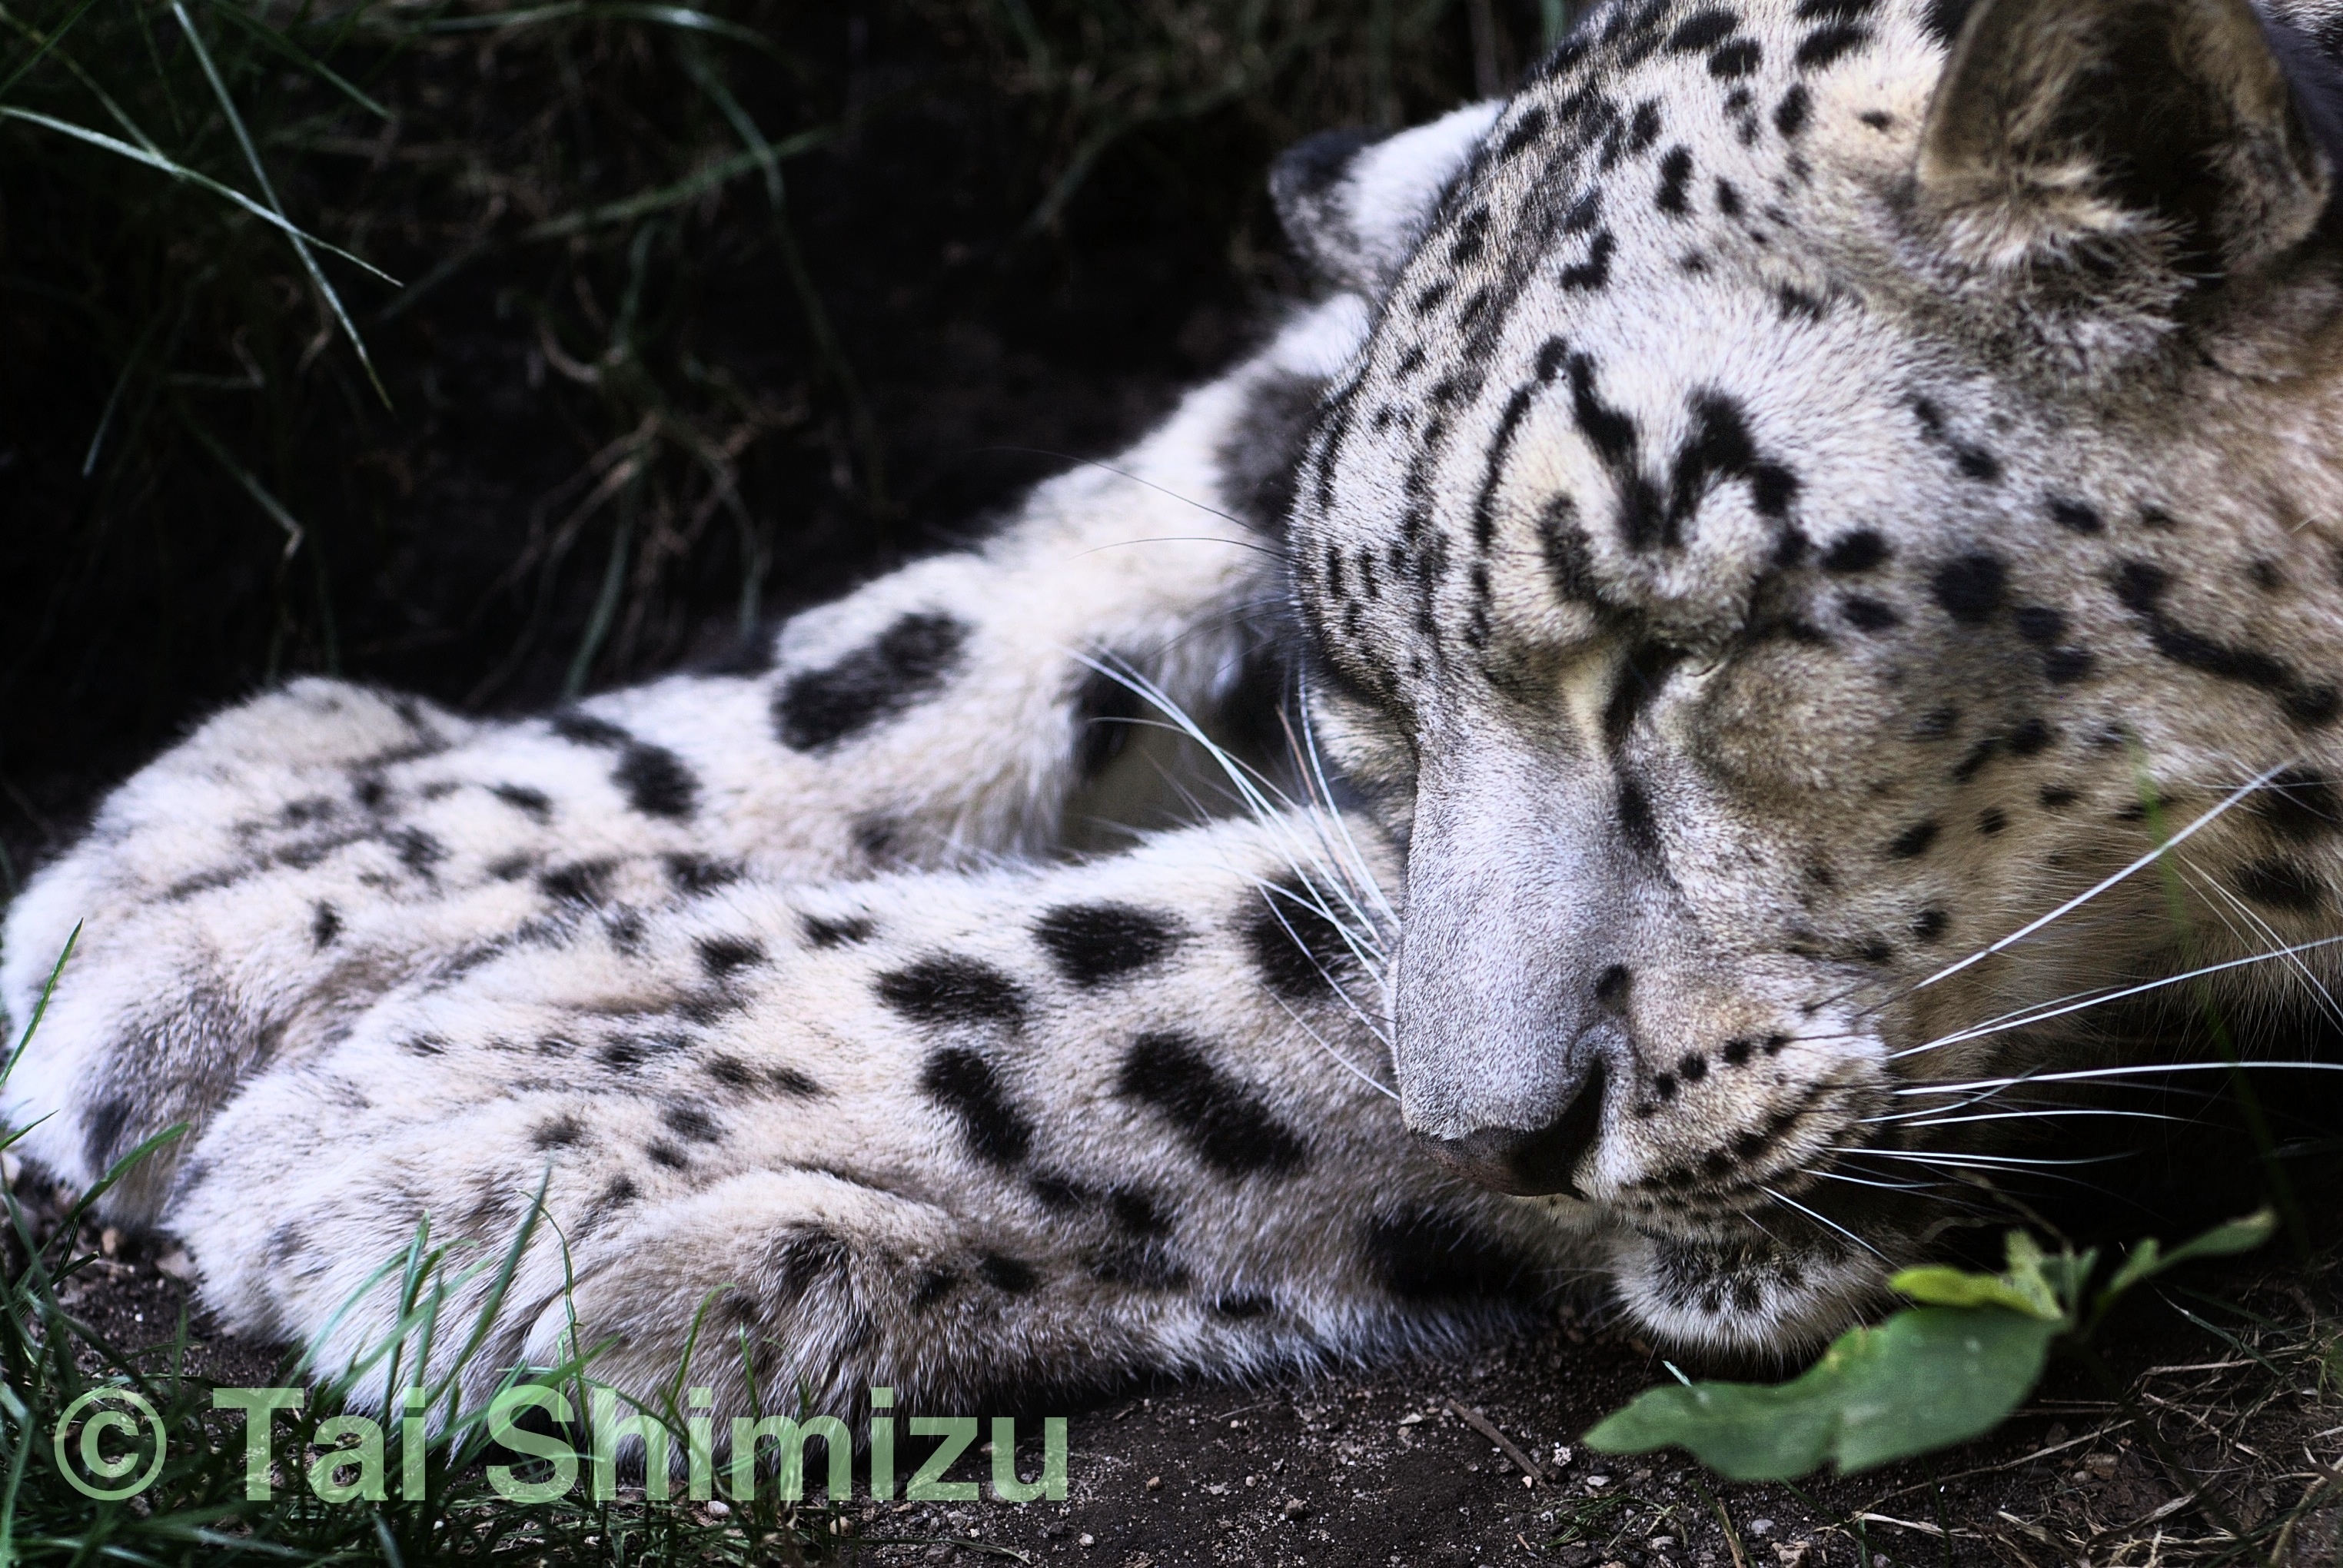
And here it is, the 6.2 megapixel final image exported from the current beta of Filterstorm 2. It’s still a few weeks away, but is a fantastic update. I hope you’re looking forward to it!

Posted by tai on 2010-07-06 08:48:11. Comments (9) | Tiny link

Previous Entry: Grace Potter and the Nocturnals

Next Entry: The Legendary Nikon SP

Comments

impressive app

I dismissed the iPad when it first came out because it didn’t run Photoshop or Lightroom, and didn’t have any serious photo editing app of its own. Ran across a mention of your program in a Flickr group, so decided to check it out. I am impressed! I’m not quite ready to plunk down the cash for an iPad yet -- still recovering from the purchase of a 5D Mark II and three lenses last month -- but when I do, I’ll be getting Filterstorm to go with it. Any chance you’ll be adding an option to export a layered PSD file for further work in Photoshop?

Like your photographic work, too, BTW. Excellent stuff!

Posted by Guy (anon) on 2010-07-22 05:39:38.

PSDs

Thanks! I can see why you’re holding off for now. a 5D Mk2 and 3 lenses? That’s pretty fantastic for one month.

There’s a few issues with PSDs that make that a very difficult feature for me to add. Firstly, because of the serious RAM constraints, Filterstorm edits are destructive. I use 3 internal layers in order to handle caching and blending, and that basically maxes out the ram I can use.

The good news is that with Filterstorm 2’s large image exporting and automation capabilities, I’ve opened up some more possibilities. I’ve given thought before to creating a simple companion app on Macs that could read in the Filterstorm automation file and an image, and process the full resolution version. It would be possible to process at this point in a manner that creates Photoshop adjustment layers rather than doing the destructive edits.

I’ve never looked at the PSD file format, I have no idea how easy or difficult it is for a third party to read from it/write to it. If it’s easy, it’s a possibility.

Posted by tai on 2010-07-22 06:09:35.

IPTC

Hi Tai, loving Filterstorm. I see I can add a caption via the email export, but no other way. I’d love to see even a simple title/caption/location box (of course I might just be missing how to do it!)

Posted by Sean McCormack (anon) on 2010-08-04 22:29:48.

IPTC

Edit: wow, I misread your post (it was at like 6am when I read it) You should see caption for both FTP and e-mail. It’s impossible to add that when saving to photos right now, because of how API works when adding things to the photos app. The metadata gets stripped. I believe this changes in iOS4

It wasn’t mentioned in this post (because it hadn’t been completed yet) but I’ve added a bunch in filterstorm 2. Here’s the fields:

â—¦ Caption

â—¦ Headline

â—¦ Title (byline)

â—¦ Keywords

â—¦ Instructions

â—¦ Subject

â—¦ Category

â—¦ Supplemental Category

â—¦ Author

â—¦ Creator

â—¦ Source

â—¦ Provider

â—¦ City

â—¦ State

â—¦ Country

â—¦ Job Title

â—¦ Job ID

â—¦ Copyright

â—¦ Date/Time

Filterstorm 2 was submitted to Apple, so should be out in about a week.

Posted by tai on 2010-08-05 06:01:52.

IPTC

I saw the FS2 post during the week and watched the videos. I’m really looking forward to the new version. I’ll be pimping it on Lightroom-Blog.com for those who keep looking for a ‘mini-Lightroom’ for the iPad-something not really possible with the API as you know.

Have you considered other export options? Facebook/Flickr/Dropbox?

Posted by Sean McCormack (anon) on 2010-08-10 09:56:43.

Exporting

I have considered others export options, namely flickr. I put that one on hold to work on other things because you can use e-mail to post to flickr if need be (though not an optimal solution). I might do a quick thing to make flickr email rather than the API, though.

I hadn’t thought about drop-box until someone mentioned it recently. It’s certainly something to look into.

Posted by tai on 2010-08-10 10:18:28.

layers

I’ve tried but can’t find out if any version of FS will allow the import of a different image for a different layer. Ex. Barn on layer 1 and a rust texture image on layer 2. All I have been able to do is duplicate the same image to a new layer.

Posted by Craig Huller (anon) on 2011-12-08 10:04:54.

@Craig

Use the double exposure button at the bottom of the list of filters to load another image into a new layer..

Posted by tai on 2011-12-08 10:10:49.

Text

I have been unable To make two or more lines of text if I want to put a quote on a photo, am I missing something?

Posted by SWP (anon) on 2012-03-02 22:55:12.
All content © Tai Shimizu unless otherwise indicated.