Plustek Opticfilm 7500i Review Part 1, Negatives
Introduction
The Plustek OpticFilm 7500i is a diminutive 35mm film/slide scanner that I’ve had for about a month now. Although I’ve mostly been scanning positives,
part one of this review is going to be about negatives. All the images were shot on 5 April, 2009 on Fuji Reala 100 using my Nikon FE with the Micro-Nikkor 105mm f/4 AIS or the 300mm f/4.5 EDIF AIS. [Note: I have since added a black and white section using Kodak TMax 400]
The 7500i is a small scanner which easily fits on my desk, and it is very portable, especially with the included carrying bag. Scanning is performed by placing slides or film in one of two holders which fit into the side of the unit. While the slide holder is very easy to use, I do find the film strip holder to be a little finicky.
Scanning
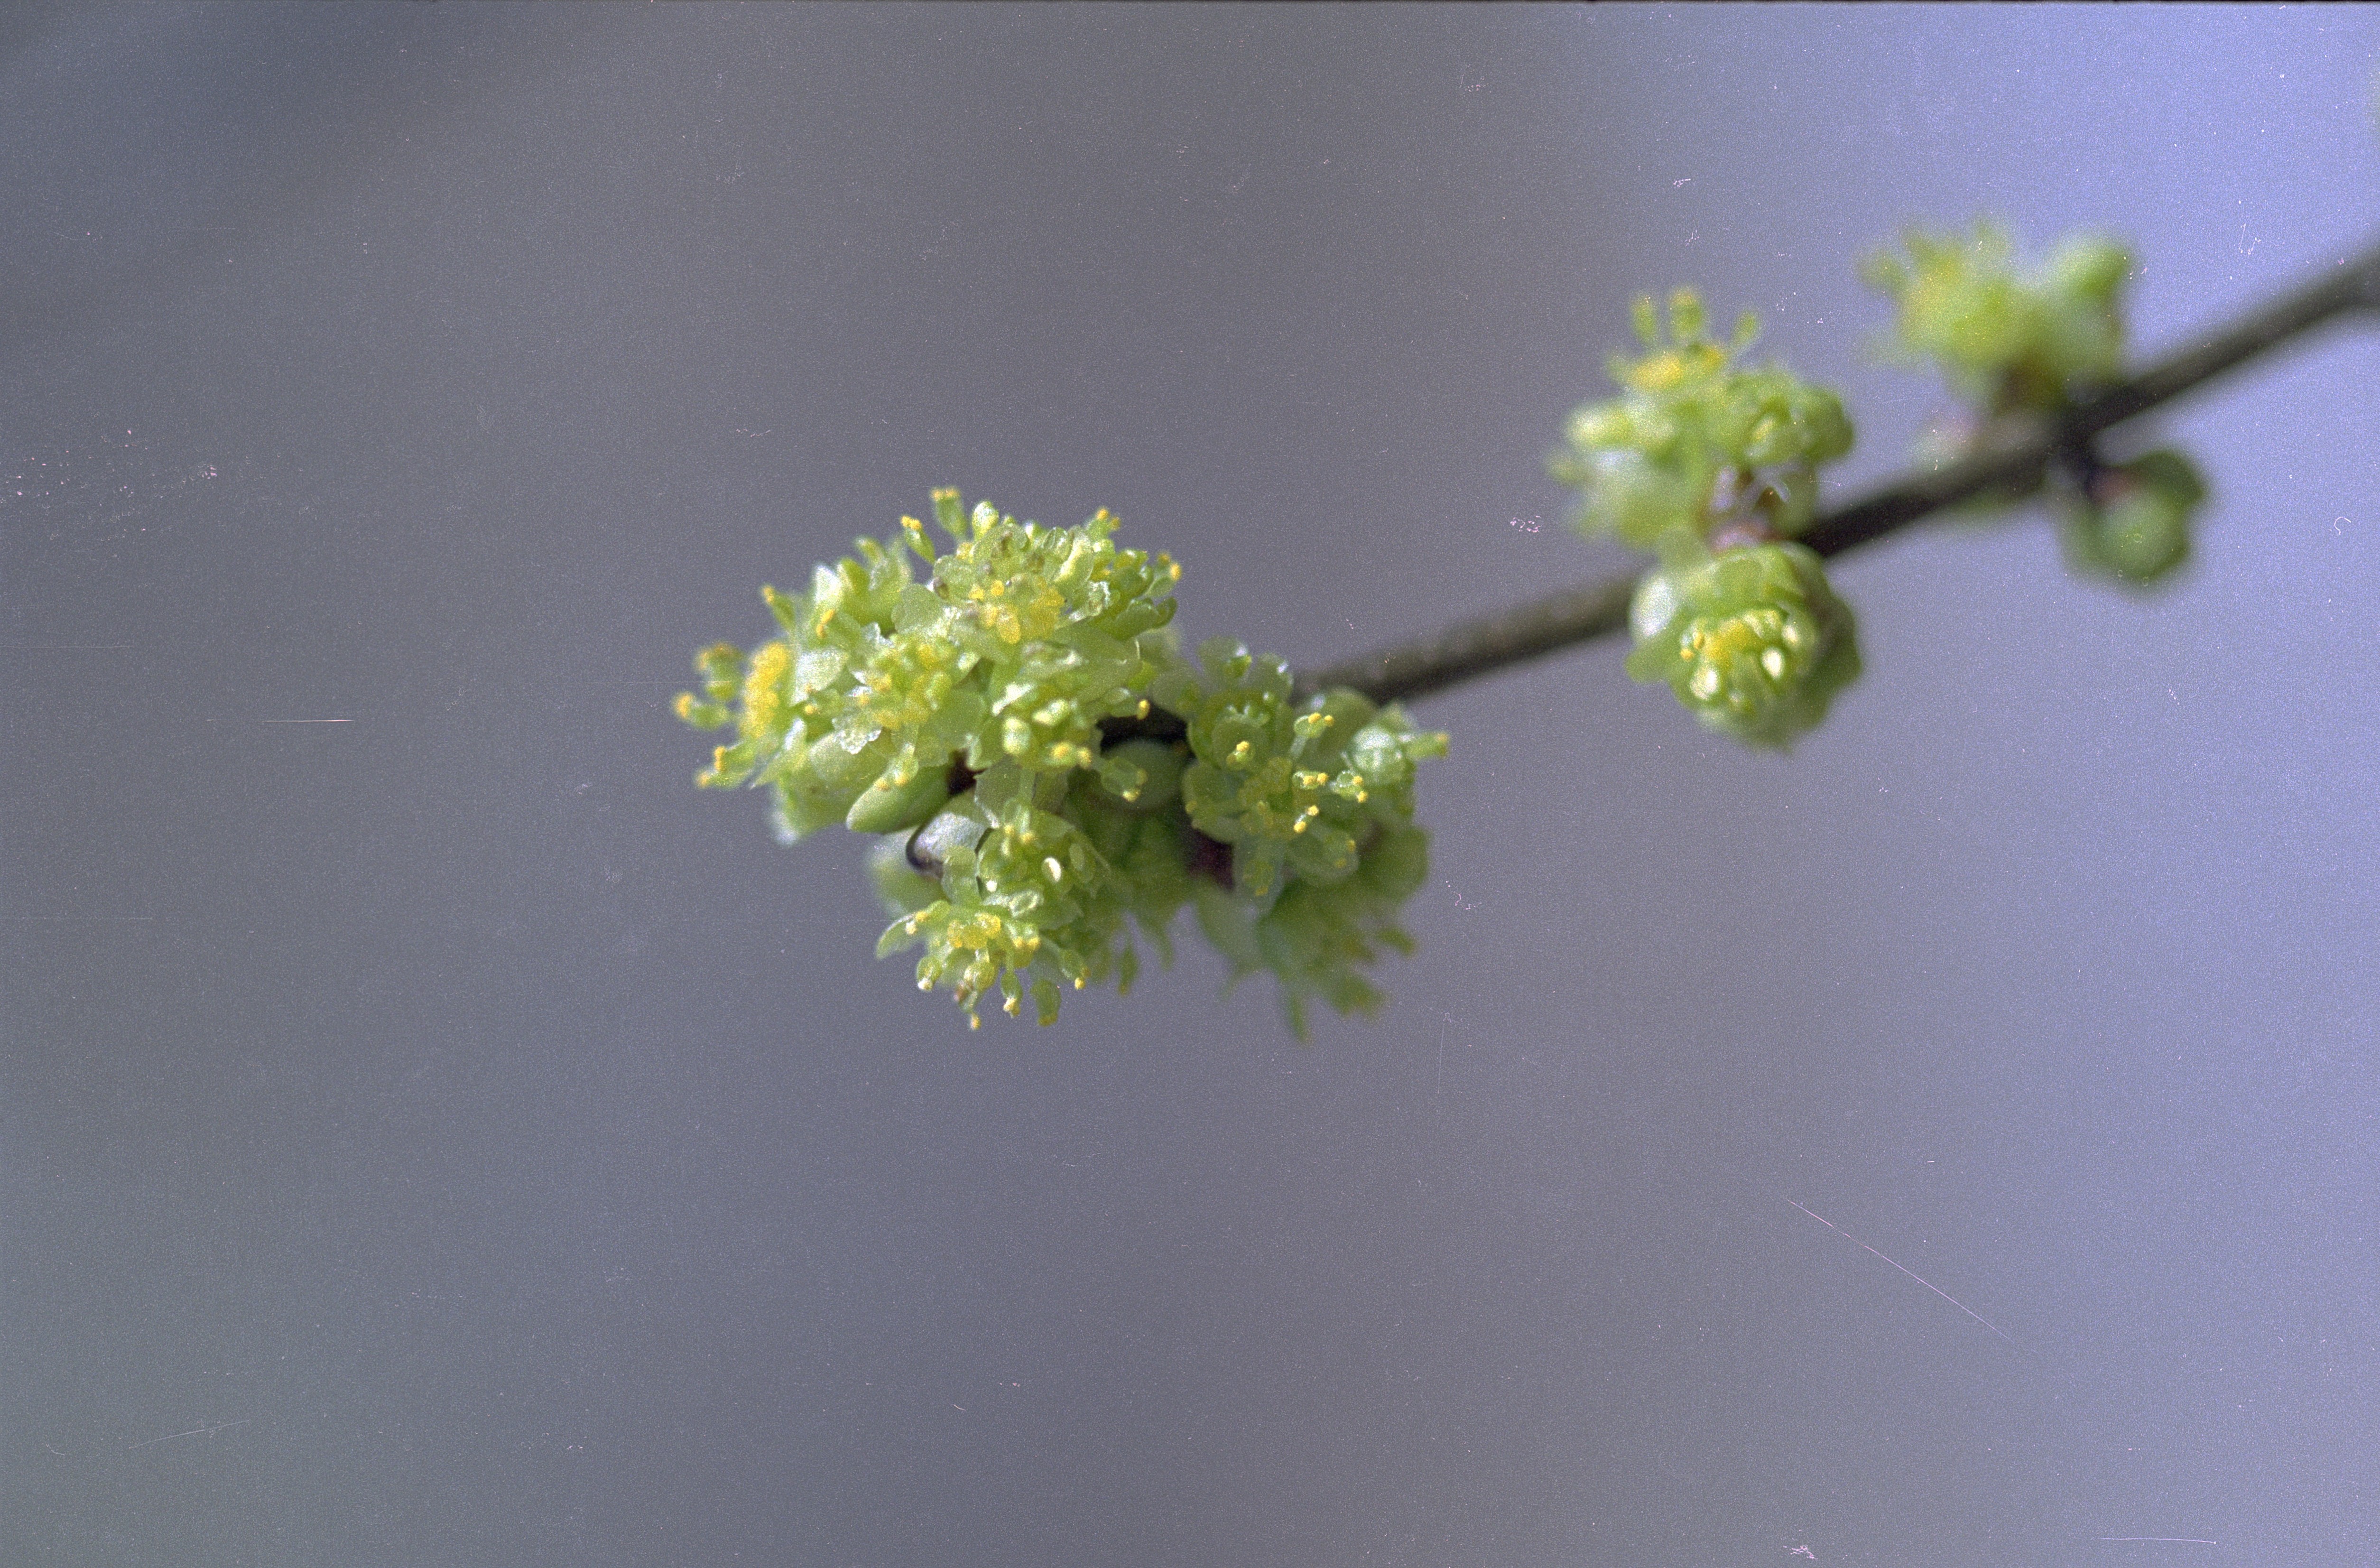
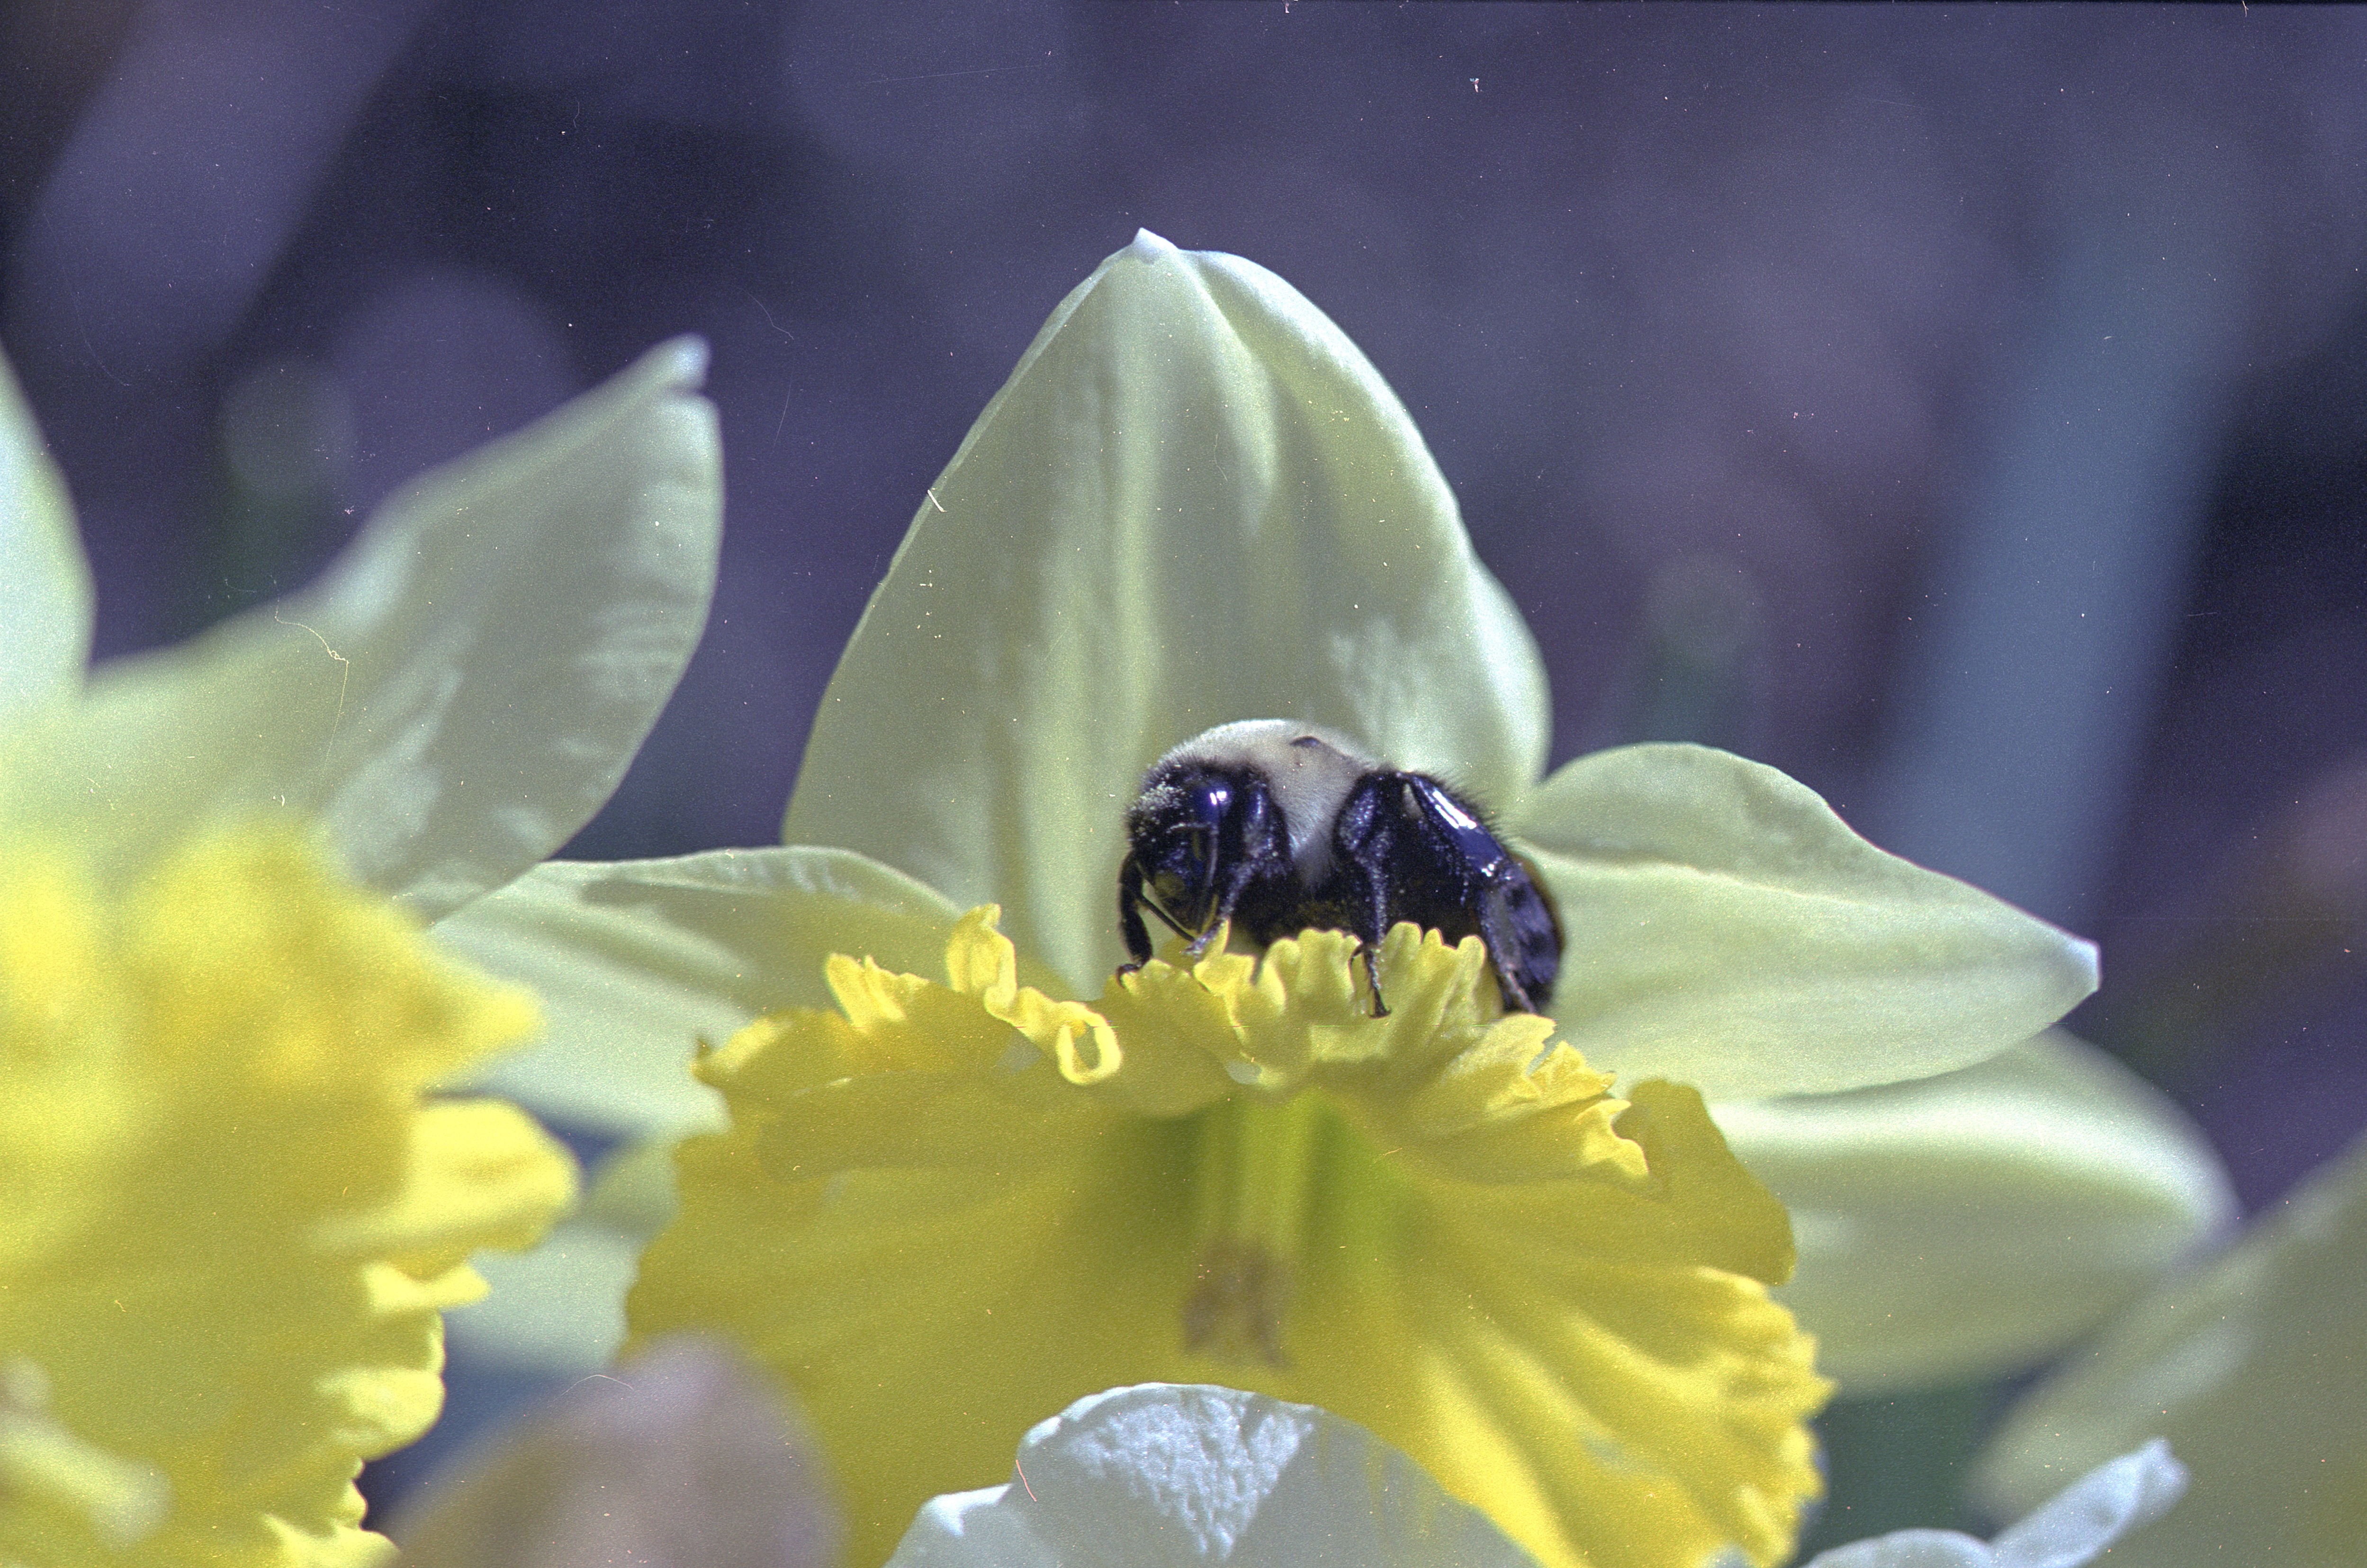
This is the image I’ll be using for the purposes of comparison among scanning settings.
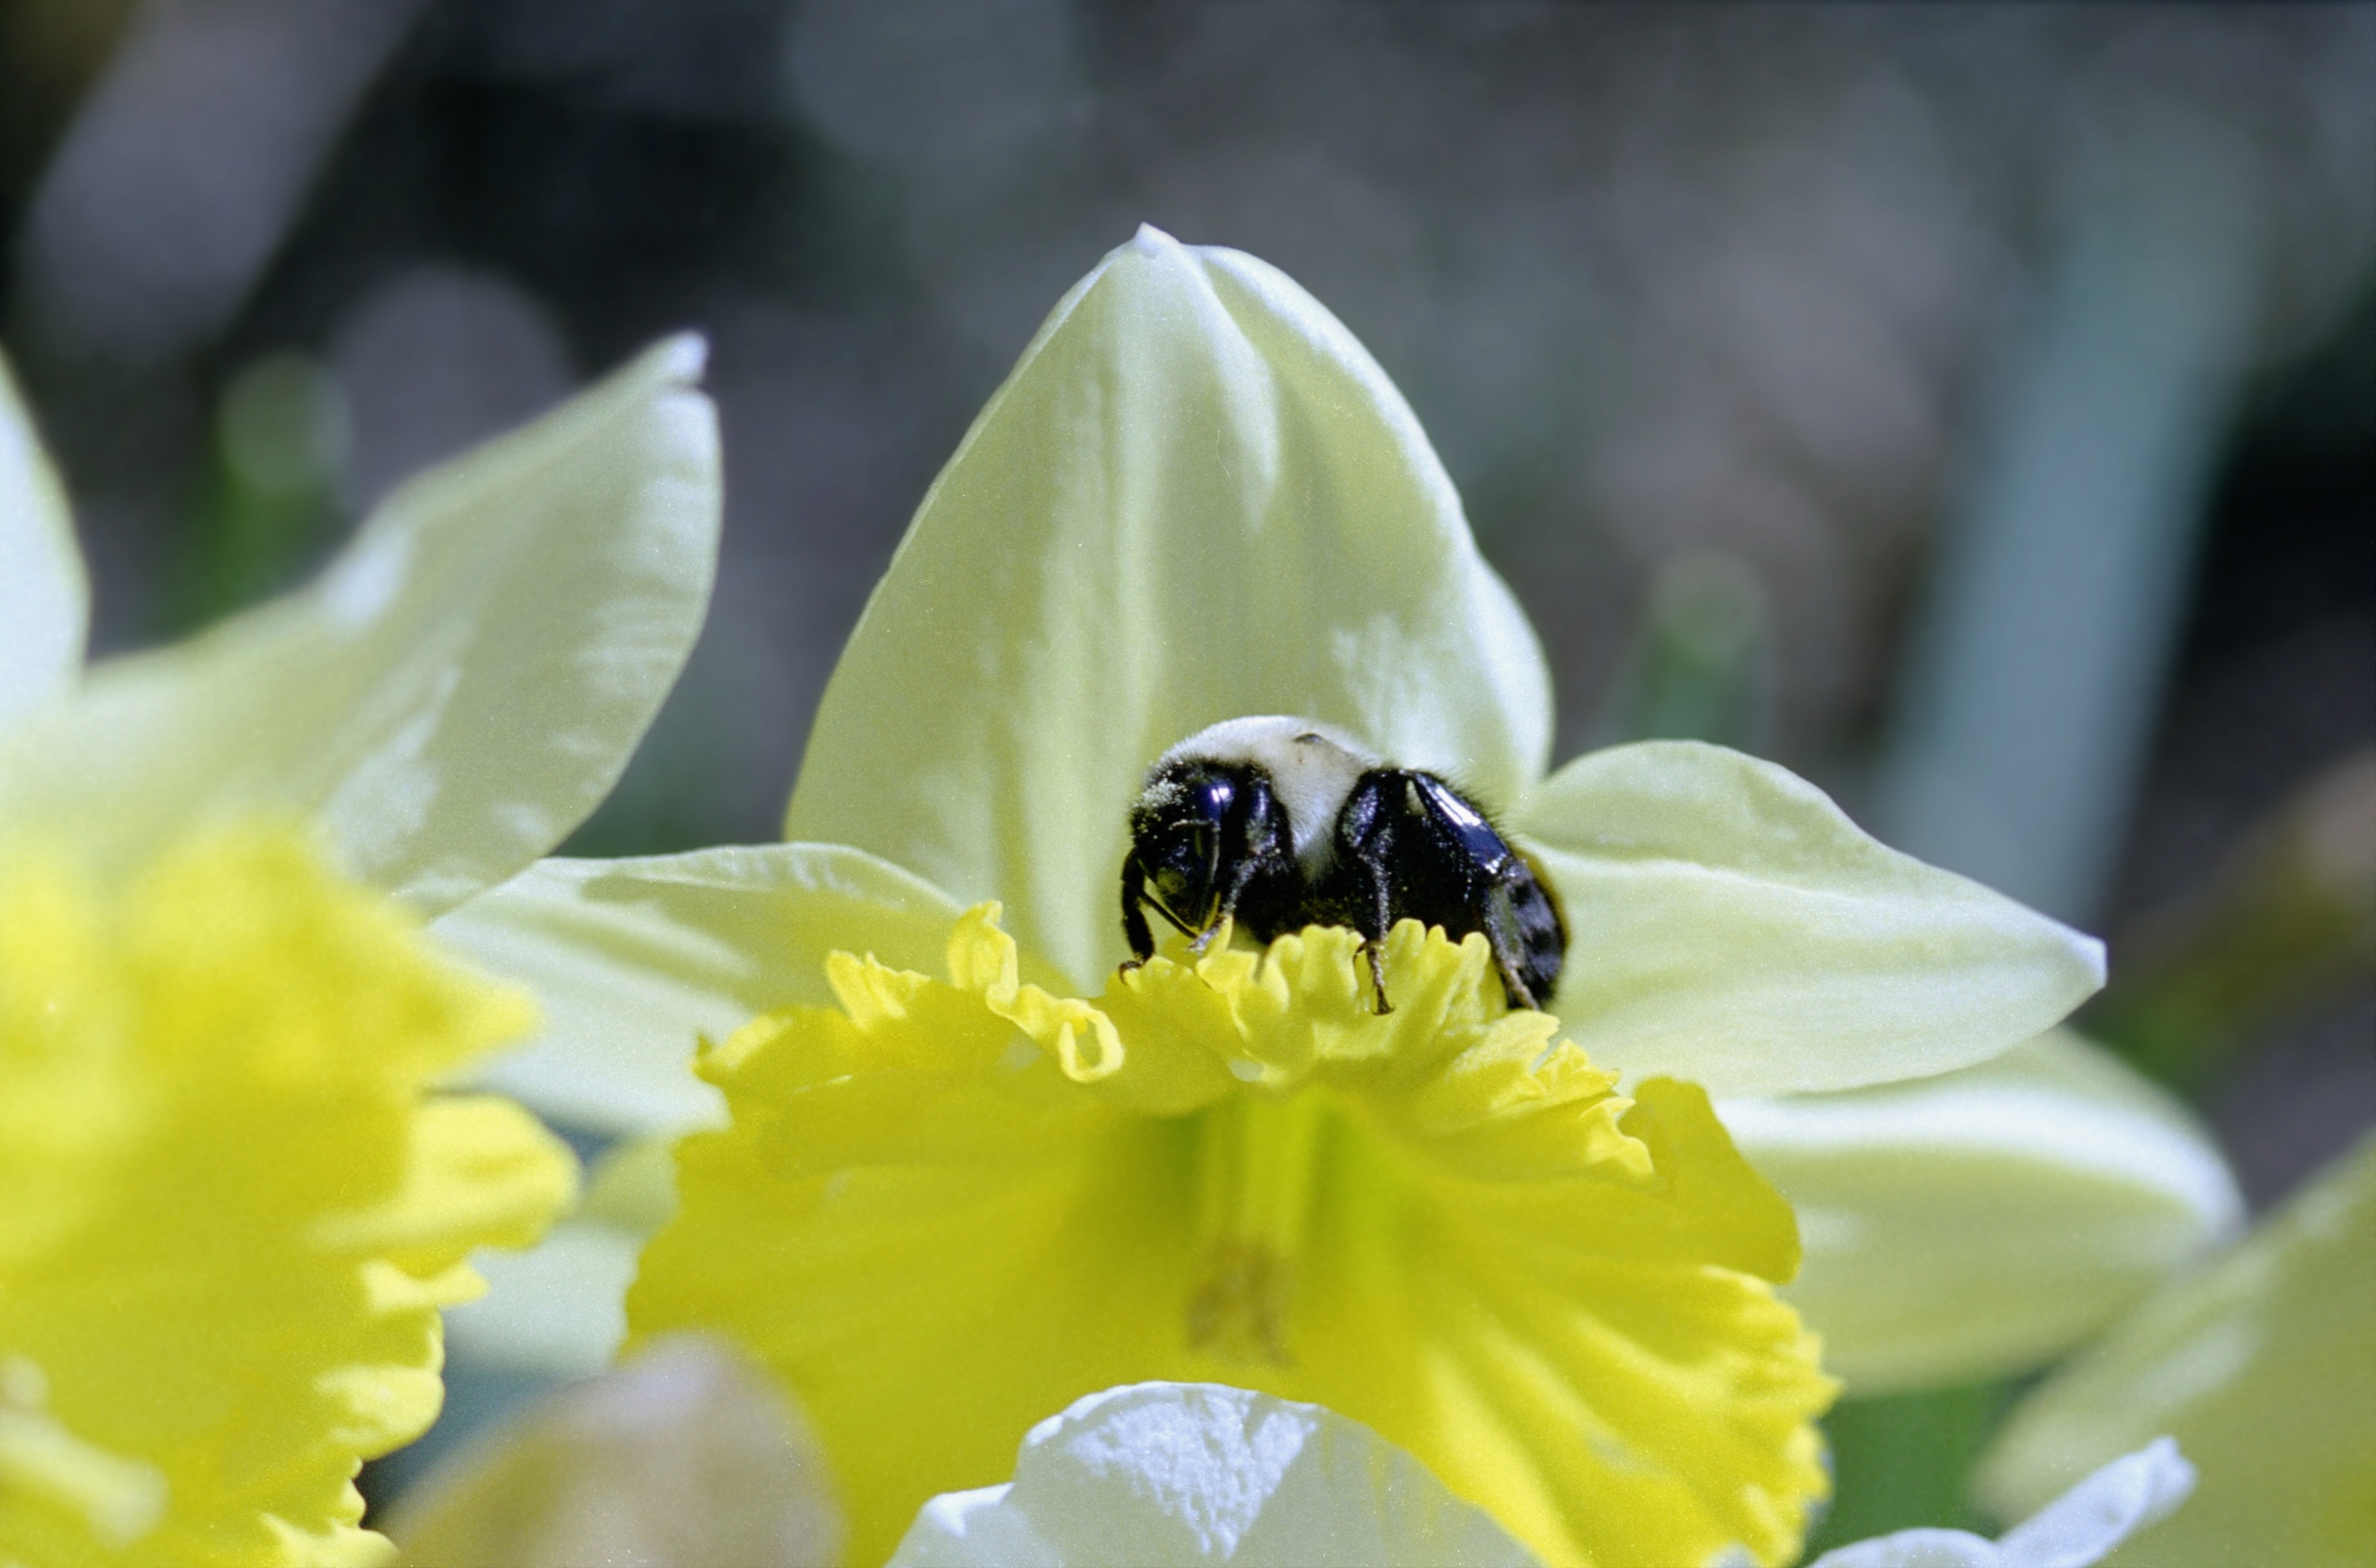
The version above was scaled down from a 7200DPI scan, and had some light post processing involving curves adjustment and noise reduction. Every other image in this review is exactly as it came out of the scanner.
The Plustek 7500i has a number of different settings for doing multiple passes for reducing film grain, or multiple exposures for increasing dynamic range. In addition, the iSRD feature automatically locates dust by scanning in the IR range, then cloning it out. While these features can improve image quality, they do come at the expense of scanning time. For that reason I’ve created the chart below to show amount of time for various scanning methods on my 2Ghz Macbook Core2Duo (aluminum enclosure). Click on the linked times to see the untouched resulting images from each scan.
Scanning Time
| Scan Type | 3600DPI | 7200DPI |
| 1 Pass | 1:20 | 4:12 |
| 1 Pass w/iSRD | 3:58 | 18:25* |
| 2 Pass | 3:25 | — |
| 2 Pass w/iSRD | 5:48 | — |
| Multiple Exposure | 4:16 | — |
| ME w/iSRD | 6:34 | — |
Please download each image once for your reference rather than opening multiple times as the files are fairly large and I don’t want to waste bandwidth.
*I believe this was significantly longer because the software ran out of available ram and had to start paging out/in various parts of the image drastically slowing things down. I suspect if I had more ram and/or fewer other applications open, this time would be closer to 8–10 minutes.
Multiple Scans
The 2 Pass, Multiple Exposure, and iSRD options all involve scanning the film multiple times to enhance it. From these images I was surprised to see that there was very little difference between the 1 pass, 2 pass, and Multiple Exposure scans. This is something I will revisit when I look at scanning positives, and I suspect from experience the difference will be greater.
iSRD on the other hand does drastically reduce the amount of dust present in the scan, and saves a lot of time cloning out the areas manually. If there’s light dust I often don’t have to clone out anything at all. Other times there’s still manual work to be done in this area.
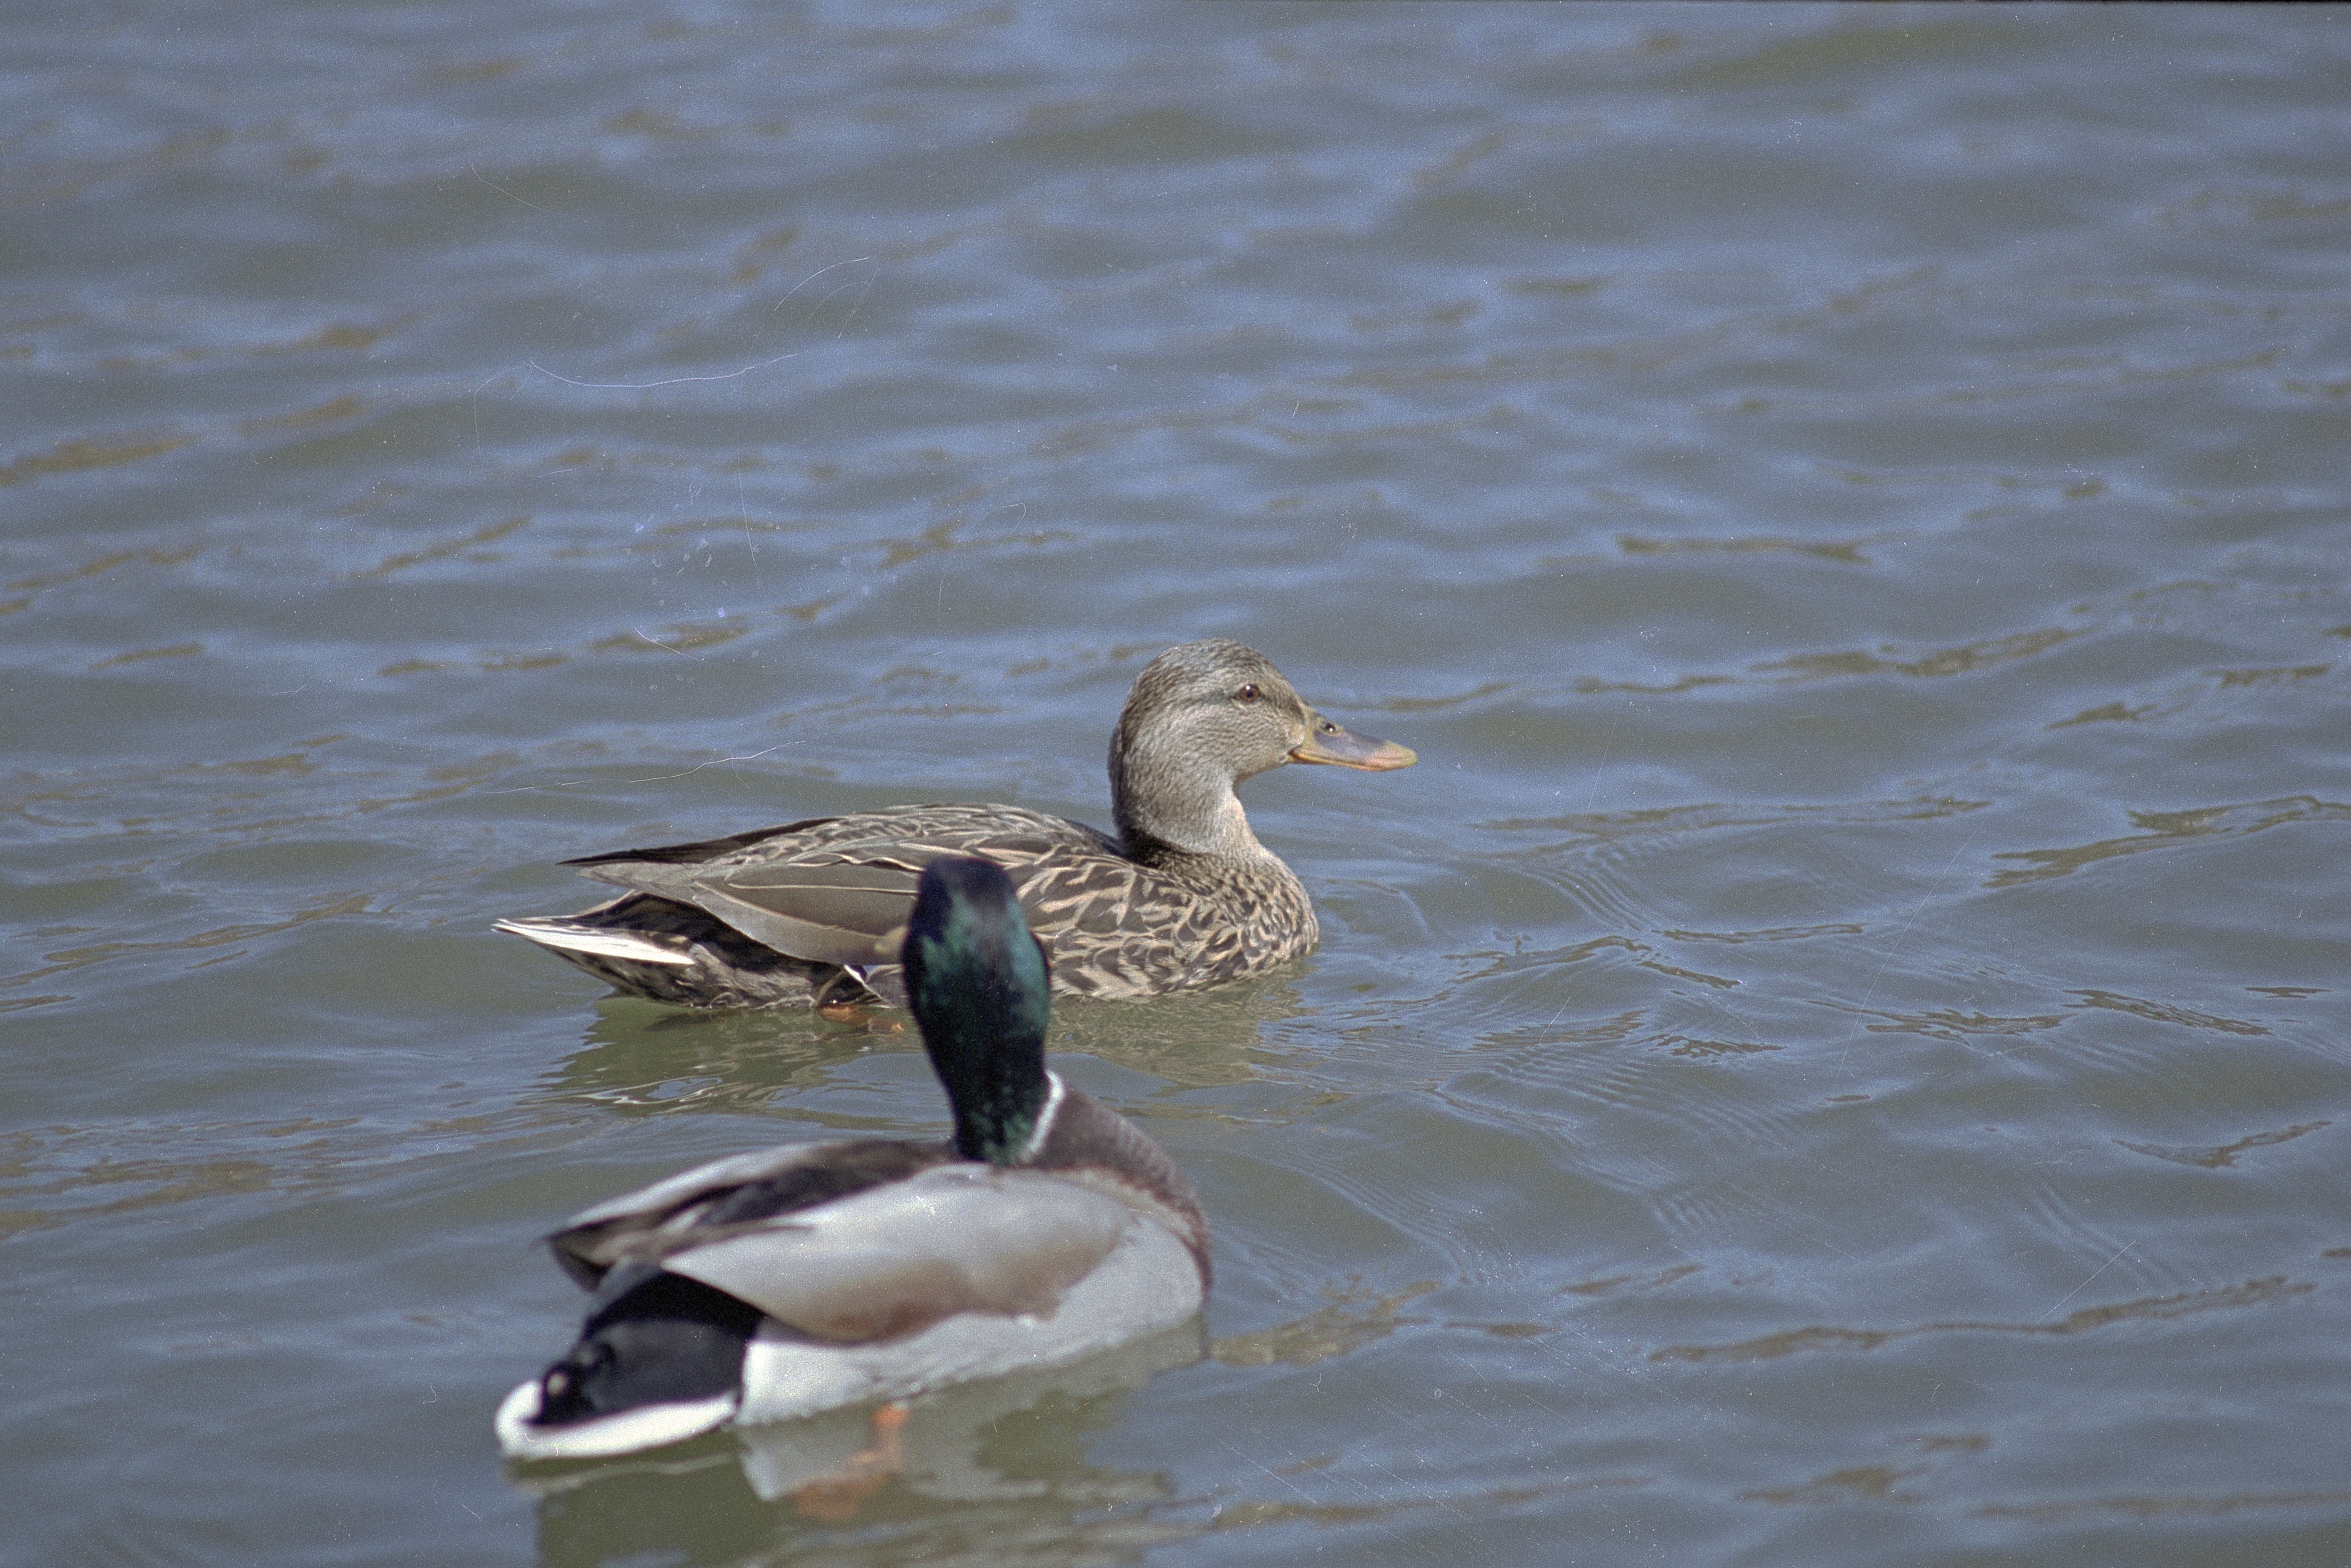
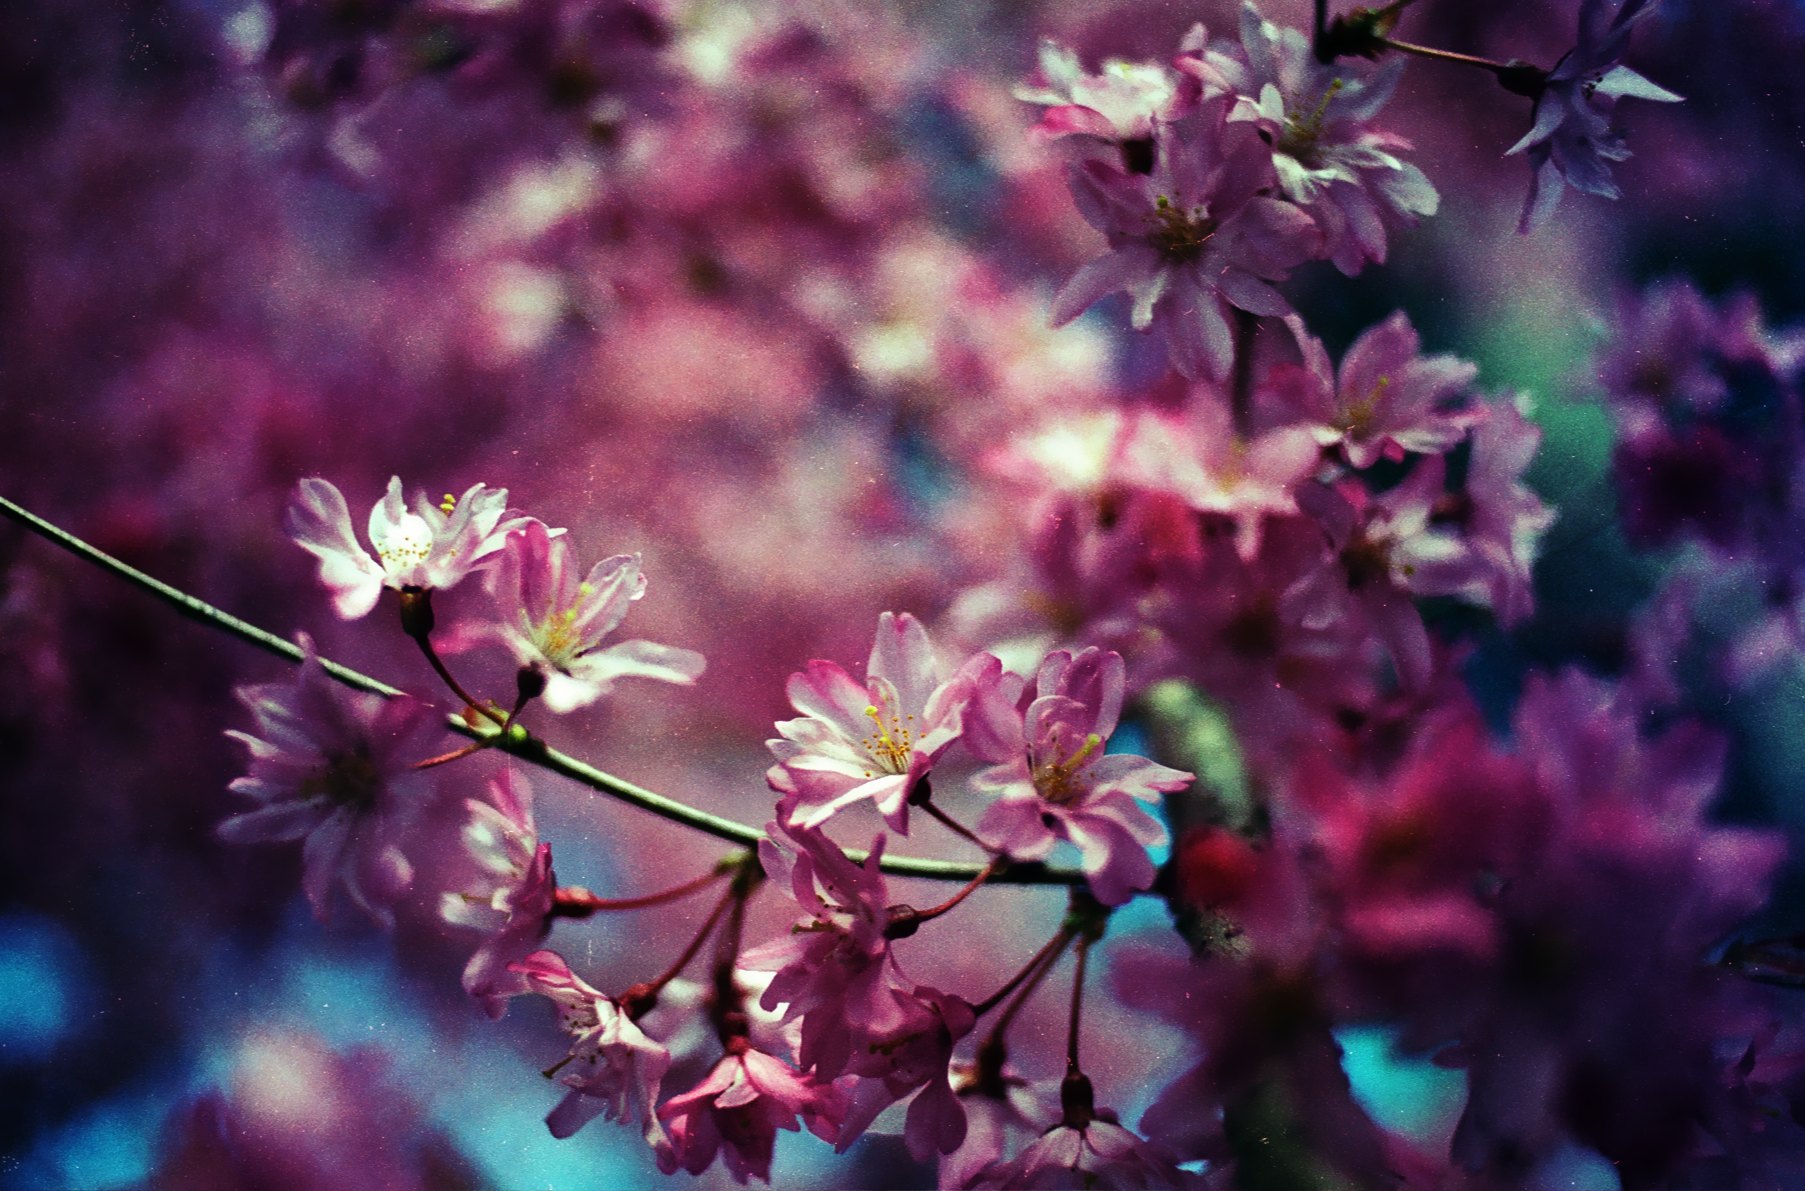
Ducks using 300mm f/4.5 EDIF AIS
Resolution
While there simply isn’t enough information on a negative slide to give you a clean image at 7200DPI, that doesn’t mean it’s not useful. If you reduce one of the 7200DPI scans by 50%, and compare to a 3600DPI scan, you find that the detail is a bit easier to see and the noise is cleaner. If you want to get the most from your scan, going to 7200DPI will give you a bigger boost in quality than doing 2 or more passes. It’s mostly a question as to whether or not you’re willing to wait the extra time for scanning, and deal with the big files. Personally, I set up a drop folder set up that automatically scales the 7200DPI scans down to 50% size to eliminate having to deal with the extra-large files for when I do use it.
Other Notes
The software has a bunch of presets for different types of film. The Reala 100 preset was terrible, giving me a over-exposed, over-saturated useless scan. Most of the other presets were similar, with only a few giving decent results. I found the “Monochrome” film preset to be the best. The results can be a bit under-saturated at times, but otherwise good.
Fuji Reala 100 Setting

Monochrome Setting
Black and White
Color balance can be an issue when dealing with color negatives, but black and white has no such issue. The scanner does a good job with black and white 35mm with one glaring exception. The iSRD dust removal setting seems to pick up bright areas as dust, and attempt to remove large swaths of it, causing large gray blocks to appear in images. For this reason I have to scan B&W negatives with this option turned off leaving for more work removing dust and scratches in post.

Reccomendations
This section is a bit hard as I’ve not used any other home film scanners other than flatbeds, to which this is superior in my experience. Based on what I’ve read, I suspect Nikon’s Coolscan offerings are better, but you will pay about $200 extra for the base model. If you use a processing lab that scans film and gives it to you on CDs, from what I’ve seen their quality will almost certainly be better.
However, If you have a number of old negatives you want scanned, if you also want to use it on positives (the subject for part 2), you don’t want to make large prints from the scans, or you’re okay with spending a lot of time playing with settings and fixing things in post processing, this may be right for you.
If you have this scanner and have any tips for me, or any requests for me to try things, I’d love to hear them. Please leave a comment; I will update this review as I learn more.
Finally, I leave you with a few more pictures directly out of the scanner.
Additional Photos
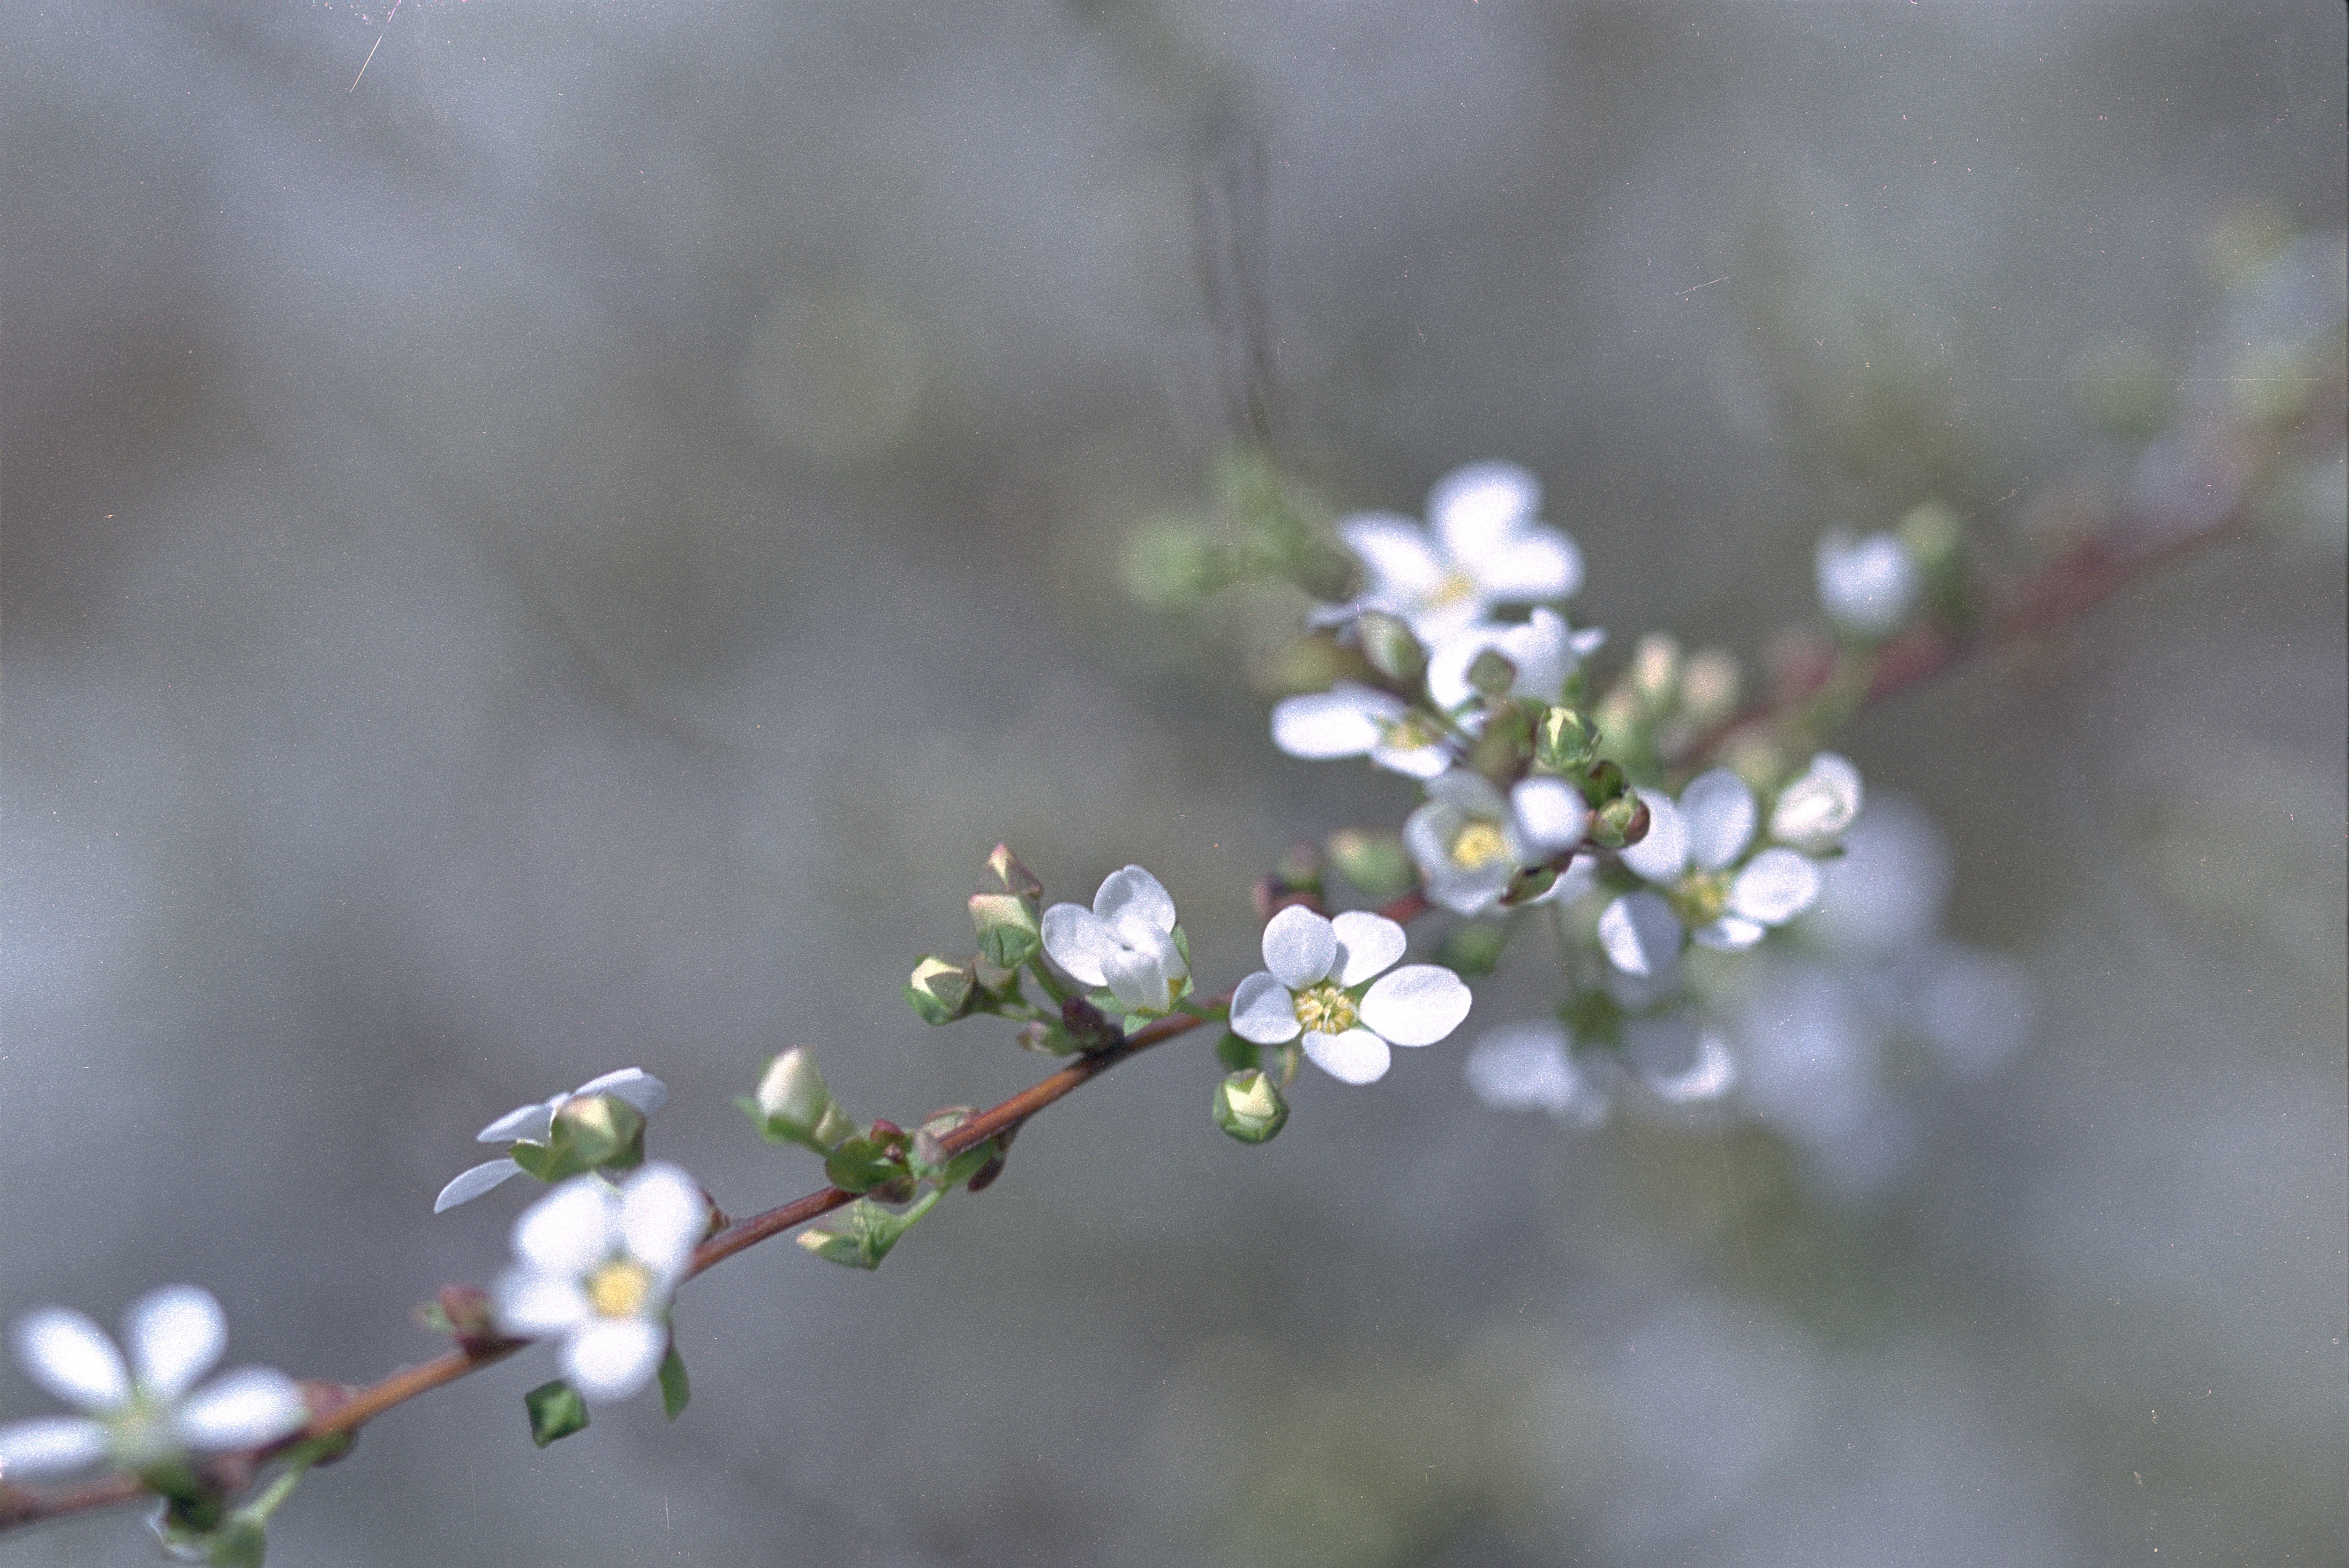
Nikon FE, Fuji Reala 100, Nikkor-S 50mm f/1.4 AI'D

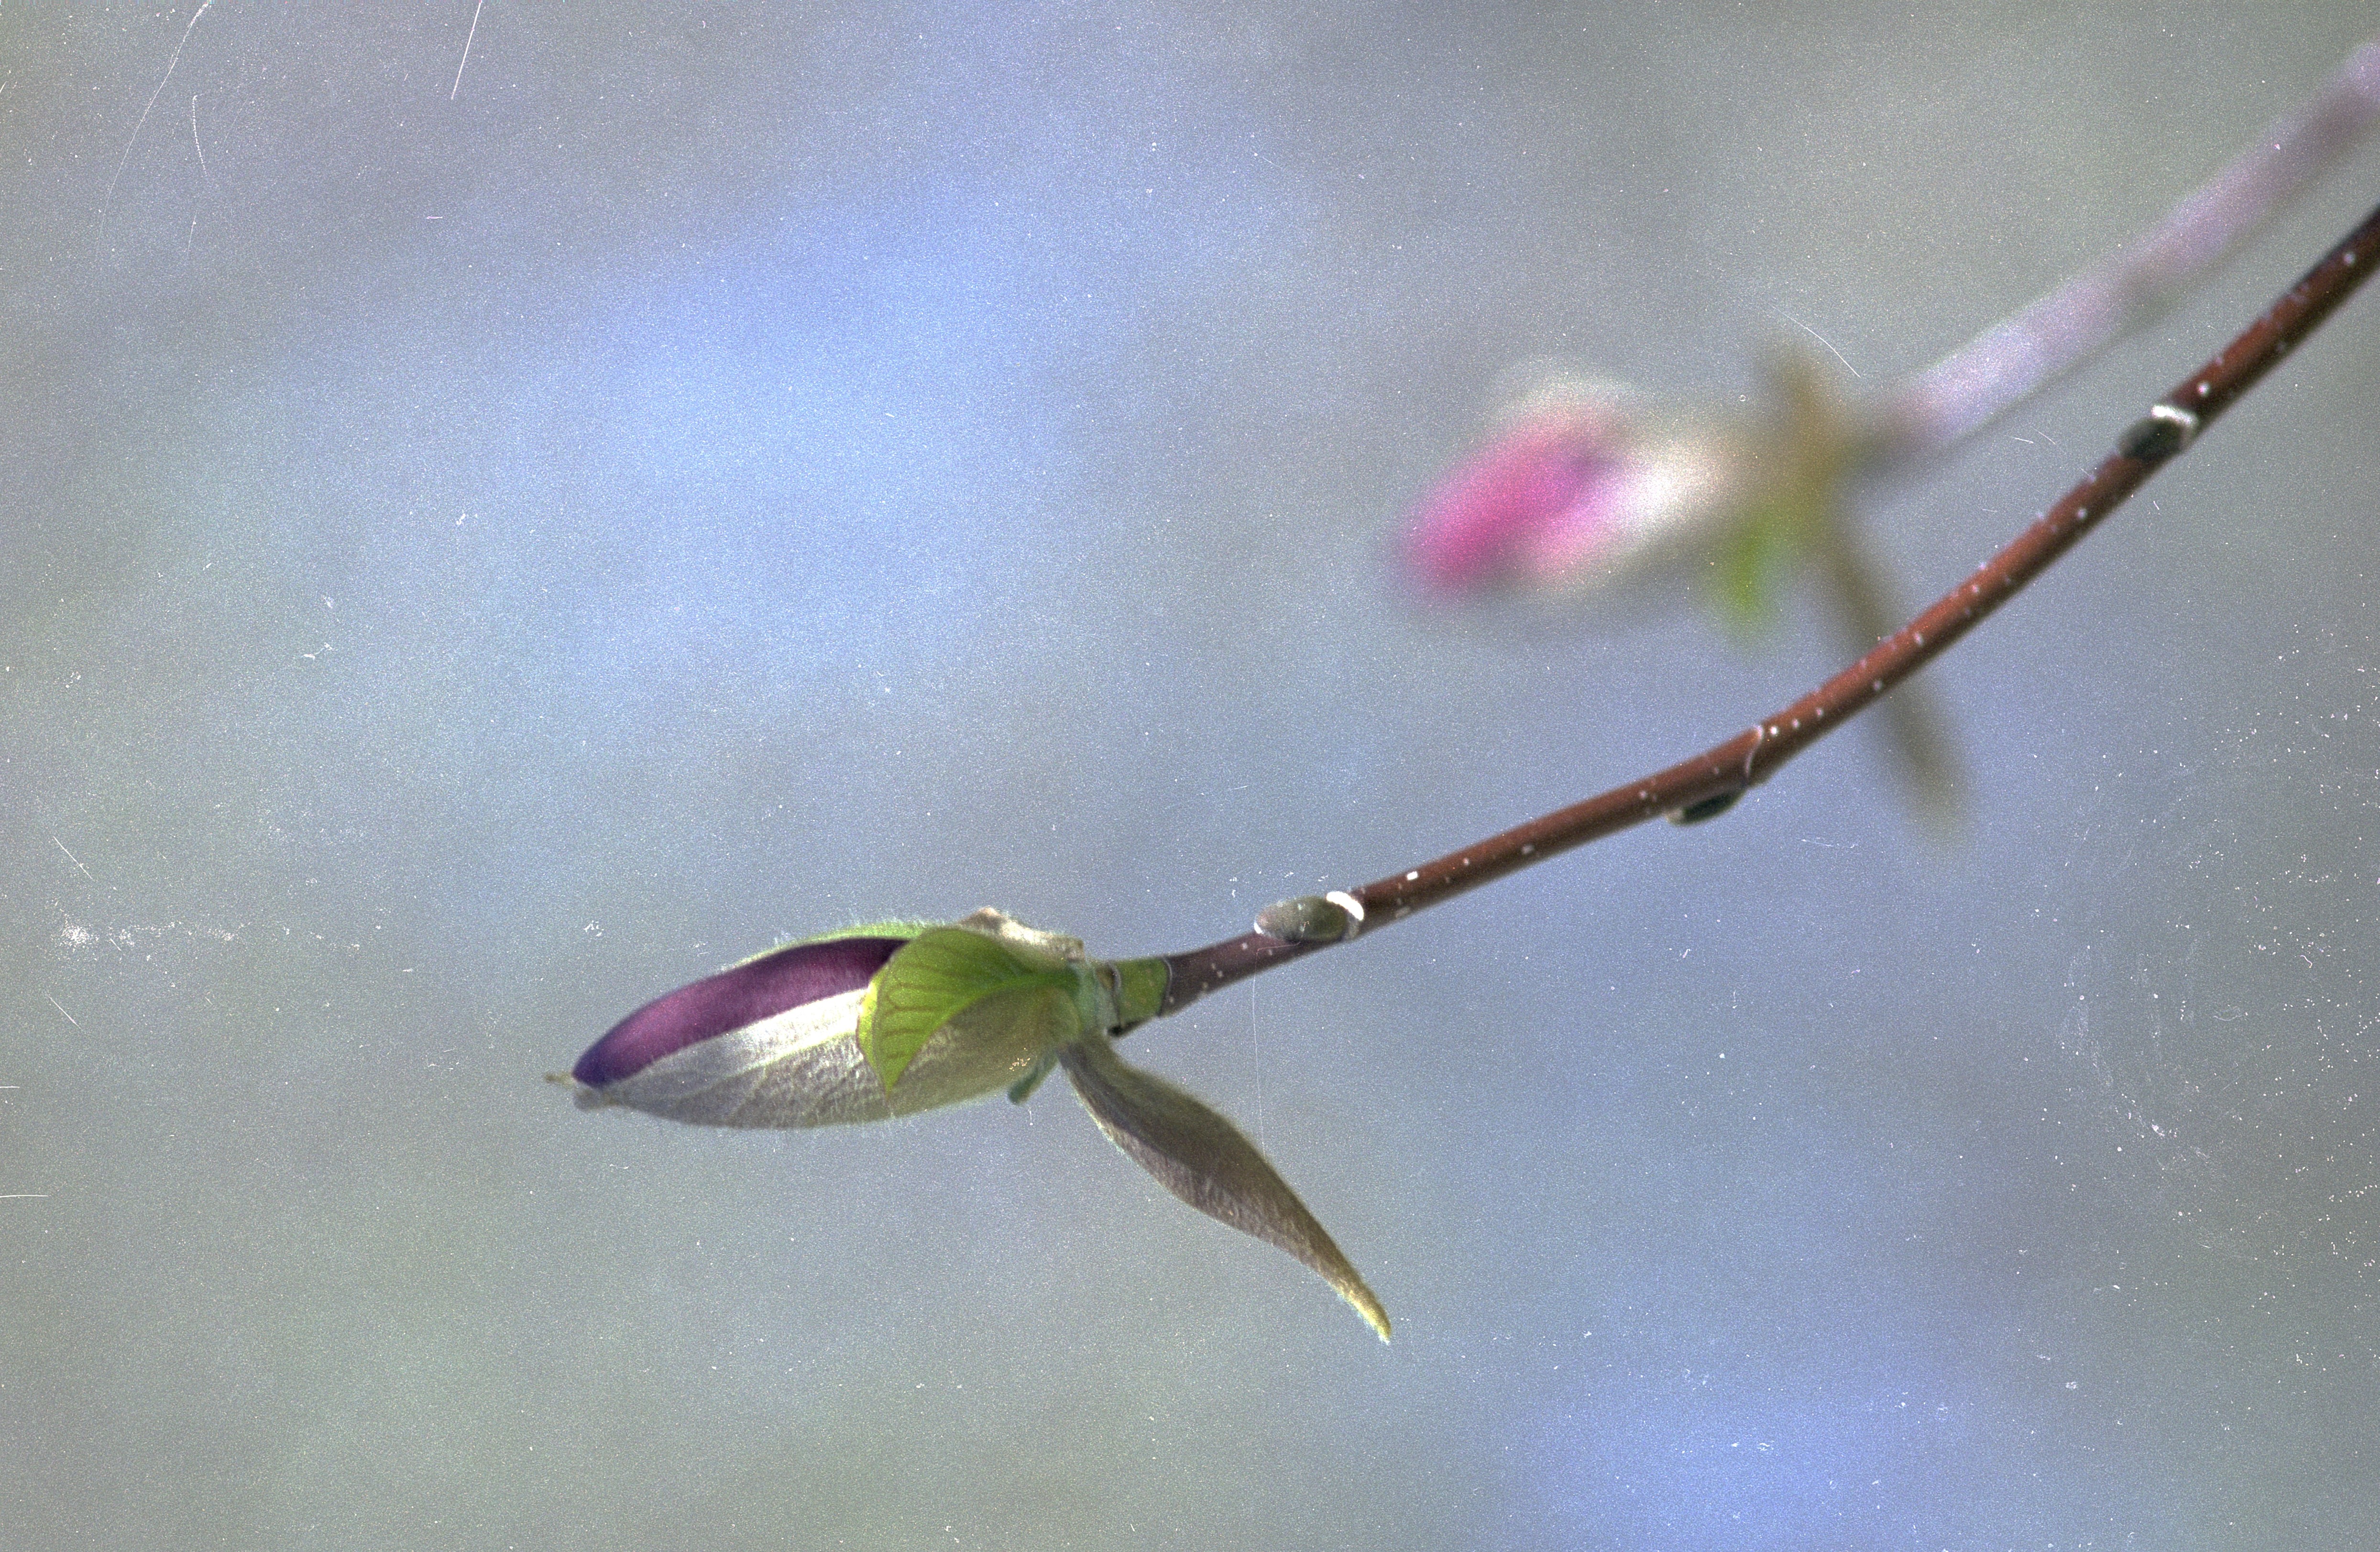
Sakura — 35mm f/2 AIS
Nikon FE, Kodak TMax 400

